-
الماكينات
-
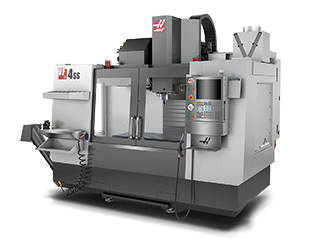 ماكينات التفريز العمودية
ماكينات التفريز العمودية
ماكينات التفريز العمودية -
 حلول متعددة المحاور
حلول متعددة المحاور
حلول متعددة المحاور -
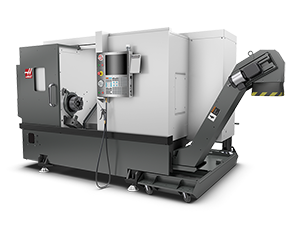 المخارط
المخارط
المخارط -
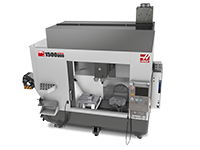
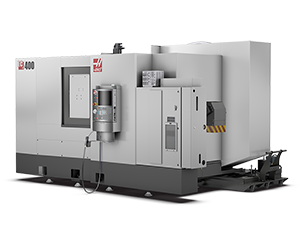 ماكينات تفريز أفقية
ماكينات تفريز أفقية
ماكينات تفريز أفقية -
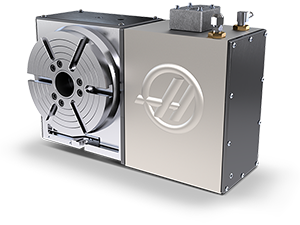 أجزاء دوَّارة ومفهرسات
أجزاء دوَّارة ومفهرسات
أجزاء دوَّارة ومفهرسات -
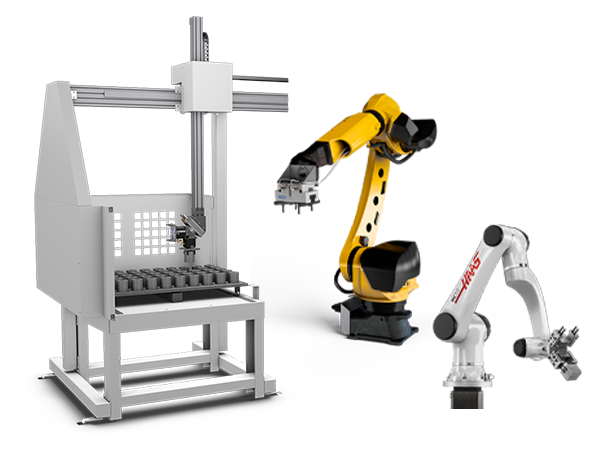 أنظمة الأتمتة
أنظمة الأتمتة
أنظمة الأتمتة -
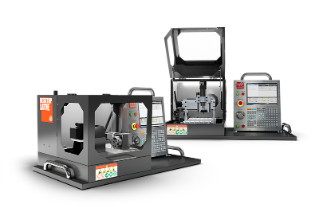 ماكينات مكتبية
ماكينات مكتبية
ماكينات مكتبية -
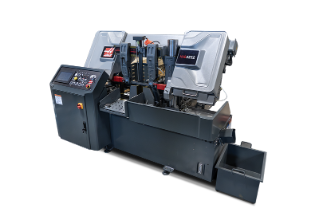 معدات الورشة
معدات الورشة
معدات الورشة
تسوق الأدواتهل تريد التحدث مع شخصٍ ما؟يمكن لأي منفذ بيع مصنع HFO) Haas) أن يجيب عن أسئلتك ويطلعك على أفضل الخيارات.
CONTACT YOUR DISTRIBUTOR > -
-
الخيارات
-
 المغازل
المغازل
المغازل -
 مبادلات الأدوات
مبادلات الأدوات
مبادلات الأدوات -
 المحور الرابع | الخامس
المحور الرابع | الخامس
المحور الرابع | الخامس -
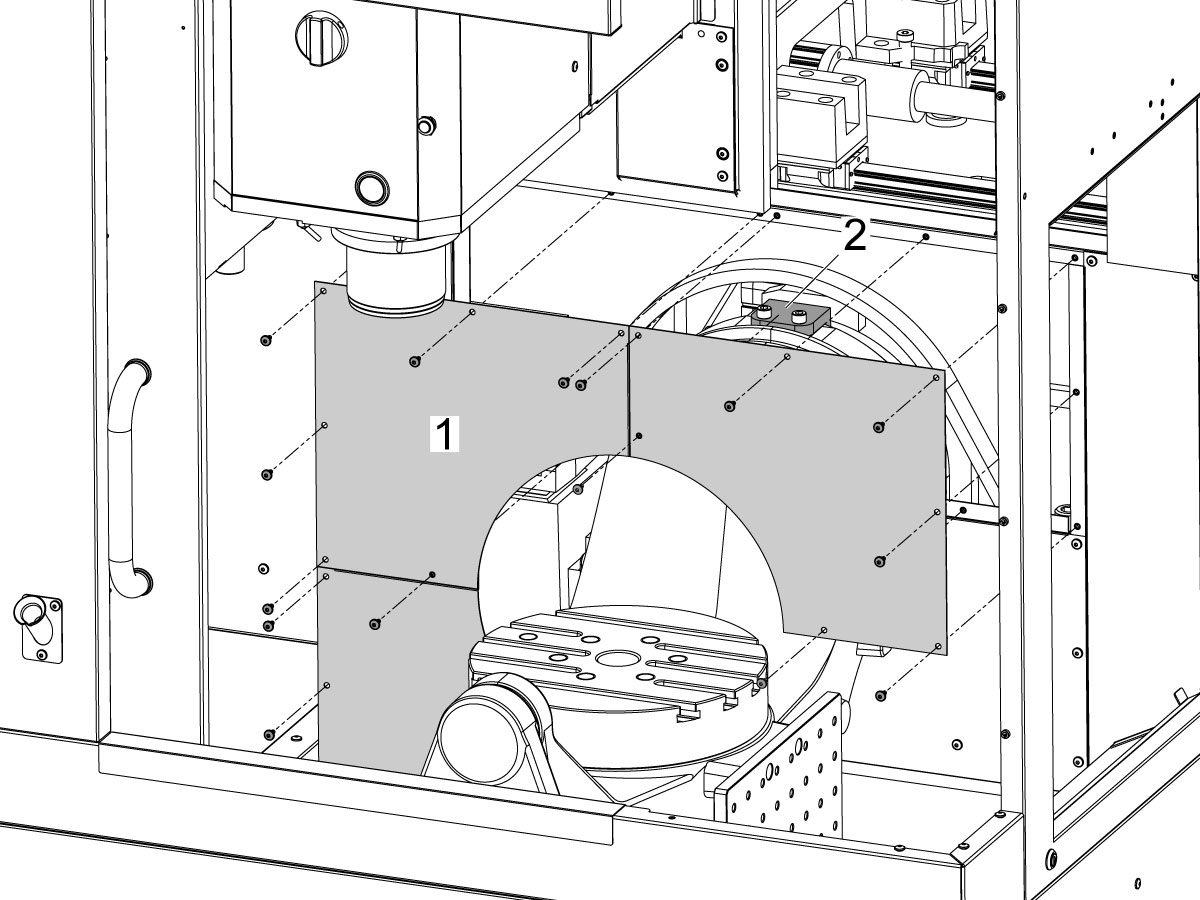
 الأبراج الدوّارة والأداة المباشرة
الأبراج الدوّارة والأداة المباشرة
الأبراج الدوّارة والأداة المباشرة -
 الفحص
الفحص
الفحص
الفحص -
 إدارة البُرادة وسائل التبريد
إدارة البُرادة وسائل التبريد
إدارة البُرادة وسائل التبريد -
 وحدة تحكم Haas
وحدة تحكم Haas
وحدة تحكم Haas -
 خيارات المنتج
خيارات المنتج
خيارات المنتج -
 الأدوات وتثبيت التَرْكِيبات
الأدوات وتثبيت التَرْكِيبات
الأدوات وتثبيت التَرْكِيبات -
 قطع العمل
قطع العمل
قطع العمل -
 حلول خمسة محاور
حلول خمسة محاور
حلول خمسة محاور -
 الأتمتة
الأتمتة
الأتمتة
تسوق الأدواتهل تريد التحدث مع شخصٍ ما؟يمكن لأي منفذ بيع مصنع HFO) Haas) أن يجيب عن أسئلتك ويطلعك على أفضل الخيارات.
CONTACT YOUR DISTRIBUTOR > -
-
Why Haas
اكتشف الفارق الذي تصنعه Haas
-
الخدمة
- الفيديوهات