-
tezgahlar
-
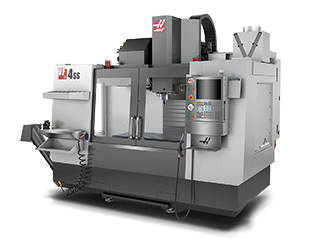 Dik Frezeler
Dik Frezeler
Dik Frezeler -
 Çok Eksenli Çözümler
Çok Eksenli Çözümler
Çok Eksenli Çözümler -
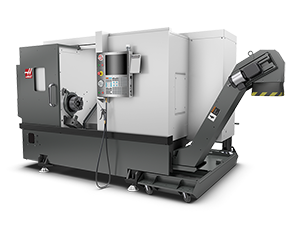 Tornalar
Tornalar
Tornalar -
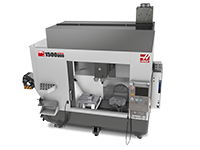
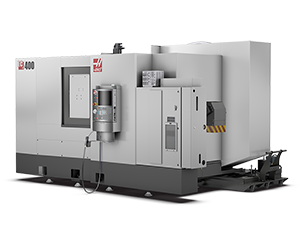 Yatay Frezeler
Yatay Frezeler
Yatay Frezeler -
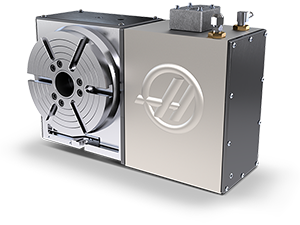 Döner ve İndeksleyici
Döner ve İndeksleyici
Döner ve İndeksleyici -
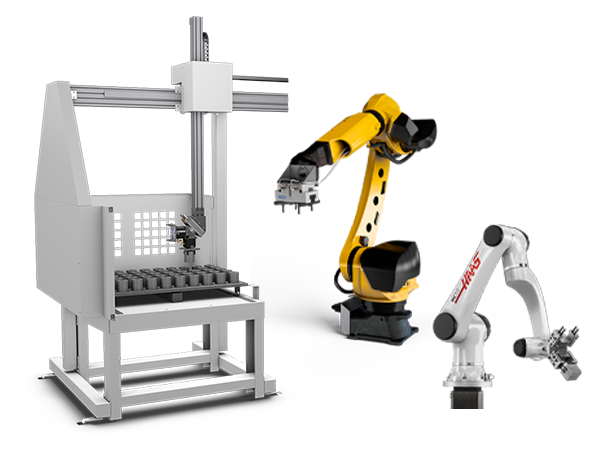 Otomasyon Sistemleri
Otomasyon Sistemleri
Otomasyon Sistemleri -
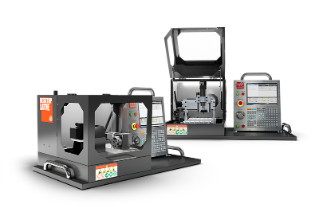 Masaüstü Makineler
Masaüstü Makineler
Masaüstü Makineler -
 Atölye Ekipmanı
Atölye Ekipmanı
Atölye Ekipmanı
ALIŞVERİŞ ARAÇLARIBİR YETKİLİYLE Mİ GÖRÜŞMEK İSTİYORSUNUZ?Bir Haas Fabrika Satış Mağazası (HFO) sorularınızı cevaplayabilir ve en iyi seçenekler konusunda size yardımcı olabilir.
CONTACT YOUR DISTRIBUTOR > -
-
Seçenekler
-
 İş Milleri
İş Milleri
İş Milleri -
 Takım Değiştiriciler
Takım Değiştiriciler
Takım Değiştiriciler -
 4. | 5. Eksen
4. | 5. Eksen
4. | 5. Eksen -
 Taretleri ve Tahrik Takımı
Taretleri ve Tahrik Takımı
Taretleri ve Tahrik Takımı -
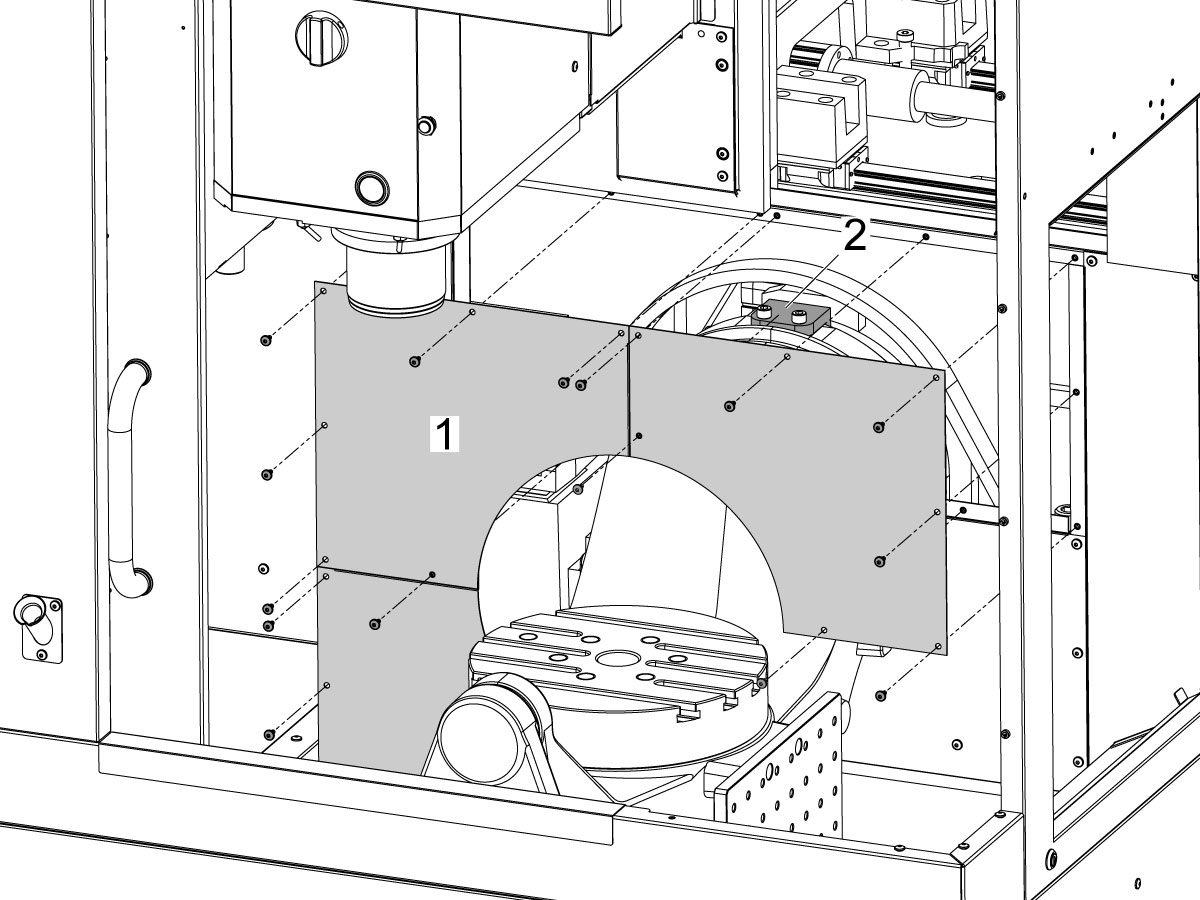
 Problama
Problama
Problama -
 Talaş ve Soğutma Sıvısı Yönetimi
Talaş ve Soğutma Sıvısı Yönetimi
Talaş ve Soğutma Sıvısı Yönetimi -
 Haas Kontrol Ünitesi
Haas Kontrol Ünitesi
Haas Kontrol Ünitesi -
 Ürün Seçenekleri
Ürün Seçenekleri
Ürün Seçenekleri -
 Takımlar ve Fikstürleme
Takımlar ve Fikstürleme
Takımlar ve Fikstürleme -
 İş Parçası Bağlama
İş Parçası Bağlama
İş Parçası Bağlama -
 5 Eksen Çözümler
5 Eksen Çözümler
5 Eksen Çözümler -
 Otomasyon
Otomasyon
Otomasyon
ALIŞVERİŞ ARAÇLARIBİR YETKİLİYLE Mİ GÖRÜŞMEK İSTİYORSUNUZ?Bir Haas Fabrika Satış Mağazası (HFO) sorularınızı cevaplayabilir ve en iyi seçenekler konusunda size yardımcı olabilir.
CONTACT YOUR DISTRIBUTOR > -
-
Why Haas
Haas Farkını Keşfedin
-
Servis
- Videolar