
-
tezgahlar
-
Dik Frezeler
Dik Frezeler
-
Çok Eksenli Çözümler
Çok Eksenli Çözümler
-
Tornalar
Tornalar
-
Yatay Frezeler
Yatay Frezeler
-
Döner ve İndeksleyici
Döner ve İndeksleyici
-
Otomasyon Sistemleri
Otomasyon Sistemleri
-
Masaüstü Makineler
Masaüstü Makineler
-
Atölye Ekipmanı
Atölye Ekipmanı
ALIŞVERİŞ ARAÇLARIBİR YETKİLİYLE Mİ GÖRÜŞMEK İSTİYORSUNUZ?Bir Haas Fabrika Satış Mağazası (HFO) sorularınızı cevaplayabilir ve en iyi seçenekler konusunda size yardımcı olabilir.
CONTACT YOUR DISTRIBUTOR > -
Dik Frezeler
-
Seçenekler
-
 İş Milleri
İş Milleri
İş Milleri -
 Takım Değiştiriciler
Takım Değiştiriciler
Takım Değiştiriciler -
 4. | 5. Eksen
4. | 5. Eksen
4. | 5. Eksen -
 Taretleri ve Tahrik Takımı
Taretleri ve Tahrik Takımı
Taretleri ve Tahrik Takımı -
 Problama
Problama
Problama -
 Talaş ve Soğutma Sıvısı Yönetimi
Talaş ve Soğutma Sıvısı Yönetimi
Talaş ve Soğutma Sıvısı Yönetimi -
 Haas Kontrol Ünitesi
Haas Kontrol Ünitesi
Haas Kontrol Ünitesi -
 Ürün Seçenekleri
Ürün Seçenekleri
Ürün Seçenekleri -
 Takımlar ve Fikstürleme
Takımlar ve Fikstürleme
Takımlar ve Fikstürleme -
 İş Parçası Bağlama
İş Parçası Bağlama
İş Parçası Bağlama -
 5 Eksen Çözümler
5 Eksen Çözümler
5 Eksen Çözümler -
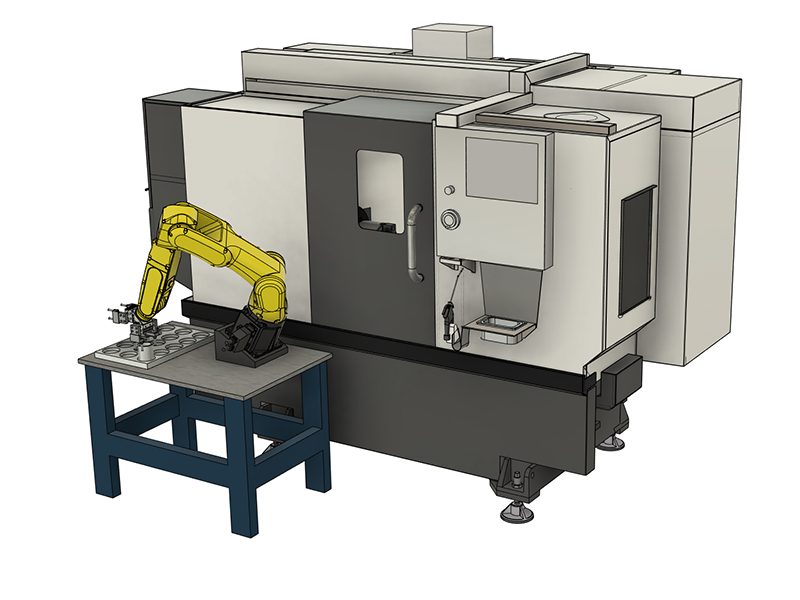
 Otomasyon
Otomasyon
Otomasyon
ALIŞVERİŞ ARAÇLARIBİR YETKİLİYLE Mİ GÖRÜŞMEK İSTİYORSUNUZ?Bir Haas Fabrika Satış Mağazası (HFO) sorularınızı cevaplayabilir ve en iyi seçenekler konusunda size yardımcı olabilir.
CONTACT YOUR DISTRIBUTOR > -
-
Why Haas
Haas Farkını Keşfedin
-
Servis
- Videolar
-
ALIŞVERİŞ ARAÇLARIBİR YETKİLİYLE Mİ GÖRÜŞMEK İSTİYORSUNUZ?
Bir Haas Fabrika Satış Mağazası (HFO) sorularınızı cevaplayabilir ve en iyi seçenekler konusunda size yardımcı olabilir.
CONTACT YOUR DISTRIBUTOR > -


-setup/Machines-Top-View.png)
-setup/FANUC%20DCS%20Safe%20Zone%20Setup%20J2%20Measuring%201.jpg)
-setup/step-2.png)
-setup/Table.jpg)
-setup/step-4.png)
-setup/step-5.png)
-setup/step-6.png)
-setup/step-7.png)
-setup/step-8.png)
-setup/DCS-User-Frame-Setup-1.png)
-setup/DCS-User-Frame-30-degree-Y-axis.png)
-setup/DCS-User-Frame-35-degree-Z-axis.png)
-setup/DCS-User-Frame-Setup-2-2.png)
-setup/DCS-Cartesian-Position-Check-Setup-1.png)
-setup/DCS-Cartesian-Position-Check-Setup-2.png)
-setup/DCS-Cartesian-Position-Check-Setup-3-2.png)
-setup/DCS-Cartesian-Position-Visualization-1.png)
-setup/HMI%20iPendant%2034.jpg)
-setup/Verify-DCS-Zone-Jogging.png)


