-
Машини
-
Вертикални фрези
Вертикални фрези
-
Решения с много оси
Решения с много оси
-
Стругове
Стругове
-
Хоризонтални фрези
Хоризонтални фрези
-
Въртящи маси и индексиращи апарати
Въртящи маси и индексиращи апарати
-
Системи за автоматизация
Системи за автоматизация
-
Настолни машини
Настолни машини
-
Оборудване за цехове
Оборудване за цехове
-
Машини за производство
Машини за производство
ИНСТРУМЕНТИ ЗА ПОКУПКАИСКАТЕ ЛИ ДА ГОВОРИТЕ С НЯКОЙ?Представителството на завода на Haas (HFO) може да отговори на Вашите въпроси и да Ви окаже съдействие да направите най-добрия избор.
CONTACT YOUR DISTRIBUTOR > -
Вертикални фрези
-
Опции
-
/2026-04-VOP-SquareComponent.jpg/_jcr_content/renditions/cq5dam.thumbnail.319.319.png) Пакетите с опция за стойност
Пакетите с опция за стойност
Пакетите с опция за стойност
Пакетите с опция за стойност -
 Шпиндели
Шпиндели
Шпиндели -
 Инструментален магазин
Инструментален магазин
Инструментален магазин -
 4-та | 5-та ос
4-та | 5-та ос
4-та | 5-та ос -
 Револверни глави с фрезови инструменти
Револверни глави с фрезови инструменти
Револверни глави с фрезови инструменти -
 Измерване
Измерване
Измерване -
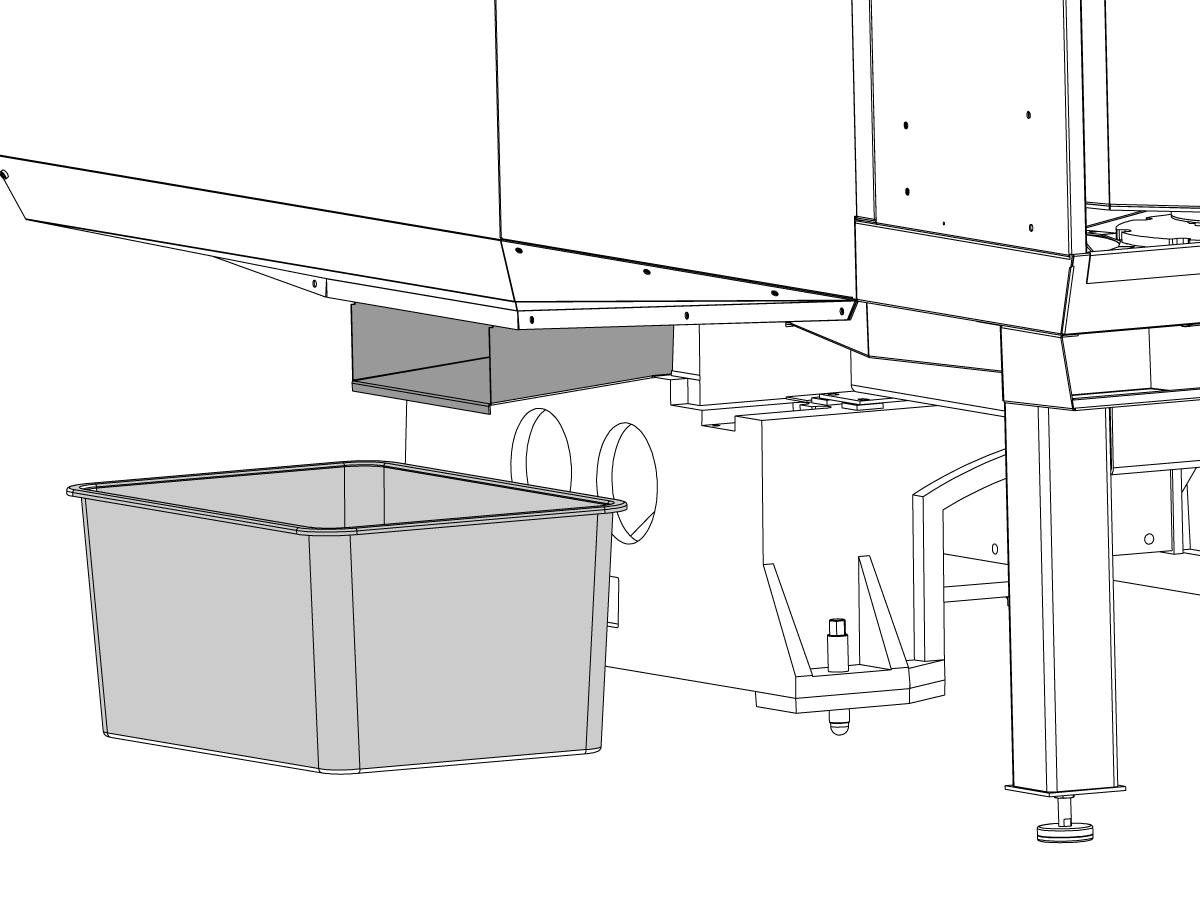
 Управление на стружките и охлаждащата течност
Управление на стружките и охлаждащата течност
Управление на стружките и охлаждащата течност -
 Управлението на Haas
Управлението на Haas
Управлението на Haas -
 Продуктови опции
Продуктови опции
Продуктови опции -
 Инструменти и устройства за фиксиране
Инструменти и устройства за фиксиране
Инструменти и устройства за фиксиране -
 Закрепване на детайла
Закрепване на детайла
Закрепване на детайла -
 Решения с 5 оси
Решения с 5 оси
Решения с 5 оси -
 Автоматизиране
Автоматизиране
Автоматизиране
ИНСТРУМЕНТИ ЗА ПОКУПКАИСКАТЕ ЛИ ДА ГОВОРИТЕ С НЯКОЙ?Представителството на завода на Haas (HFO) може да отговори на Вашите въпроси и да Ви окаже съдействие да направите най-добрия избор.
CONTACT YOUR DISTRIBUTOR > -
-
Why Haas
Открийте с какво Haas се различава
-
Сервиз
Добре дошли в обслужване на Haas Service
- Видеоклипове