-
koneet
-
Pystykaraiset jyrsinkoneet
Pystykaraiset jyrsinkoneet
-
Moniakseliset ratkaisut
Moniakseliset ratkaisut
-
Sorvit
Sorvit
-
Vaakakaraiset jyrsinkoneet
Vaakakaraiset jyrsinkoneet
-
Pyöröpöydät ja paikoittimet
Pyöröpöydät ja paikoittimet
-
Automaatiojärjestelmät
Automaatiojärjestelmät
-
Pöytäkoneet
Pöytäkoneet
-
Osta laitteita
Osta laitteita
-
Valmistuskoneet
Valmistuskoneet
TYÖKALUJA OSTAMISEENHALUATKO KESKUSTELLA JONKUN KANSSA?Haas Factory Outlet (HFO) osaa vastata kysymyksiisi ja auttaa sinua parhaan vaihtoehdon valitsemisessa.
CONTACT YOUR DISTRIBUTOR > -
Pystykaraiset jyrsinkoneet
-
Valinnat
-
/2026-04-VOP-SquareComponent.jpg/_jcr_content/renditions/cq5dam.thumbnail.319.319.png) Tuottavuuspaketit
Tuottavuuspaketit
Tuottavuuspaketit
Tuottavuuspaketit -
 Karat
Karat
Karat
Karat -
 Työkalunvaihtajat
Työkalunvaihtajat
Työkalunvaihtajat -
 4- | 5-akselin valmius
4- | 5-akselin valmius
4- | 5-akselin valmius -
 Revolverit ja pyörivät työkalut
Revolverit ja pyörivät työkalut
Revolverit ja pyörivät työkalut -
 Mittaus
Mittaus
Mittaus -
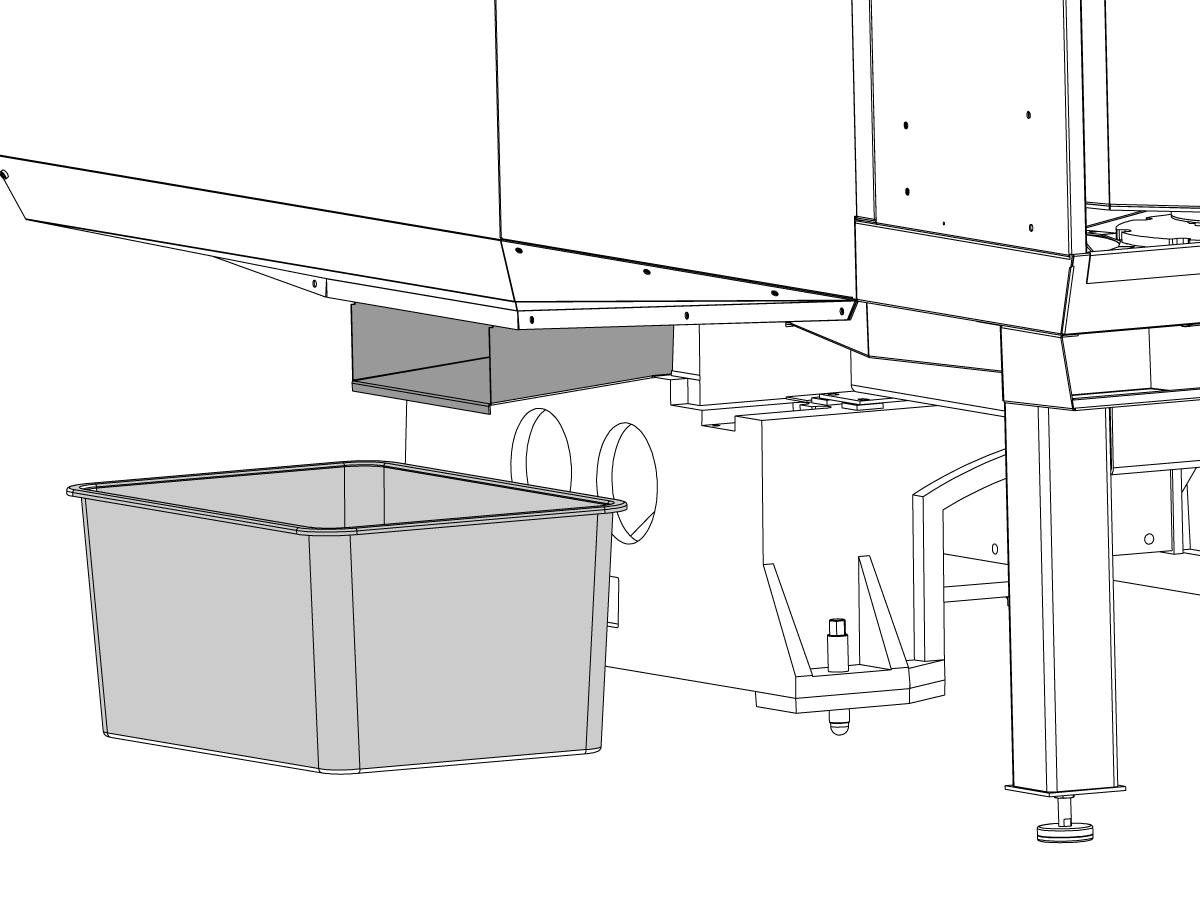
 Lastujen ja jäähdytysnesteen hallinta
Lastujen ja jäähdytysnesteen hallinta
Lastujen ja jäähdytysnesteen hallinta -
 Haas-ohjaus
Haas-ohjaus
Haas-ohjaus -
 Tuotevaihtoehdot
Tuotevaihtoehdot
Tuotevaihtoehdot -
 Työkalut ja kiinnittäminen
Työkalut ja kiinnittäminen
Työkalut ja kiinnittäminen -
 Työkappaleen kiinnitys
Työkappaleen kiinnitys
Työkappaleen kiinnitys -
 5-akseliset ratkaisut
5-akseliset ratkaisut
5-akseliset ratkaisut -
 Automaatio
Automaatio
Automaatio
TYÖKALUJA OSTAMISEENHALUATKO KESKUSTELLA JONKUN KANSSA?Haas Factory Outlet (HFO) osaa vastata kysymyksiisi ja auttaa sinua parhaan vaihtoehdon valitsemisessa.
CONTACT YOUR DISTRIBUTOR > -
-
Why Haas
Tutustu Haasin etuihin
-
Huolto
- Videot