-
machines
-
Verticale bewerkingscentra
Verticale bewerkingscentra
-
Multi-asoplossingen
Multi-asoplossingen
-
Draaimachines
Draaimachines
-
Horizontale freesmachines
Horizontale freesmachines
-
Draai- en indexeertafels
Draai- en indexeertafels
-
Automatiseringssystemen
Automatiseringssystemen
-
Desktop-machines
Desktop-machines
-
Werkplaatsapparatuur
Werkplaatsapparatuur
-
Kamerfrezen
Kamerfrezen
WINKELEN VOOR GEREEDSCHAPWILT U MET IEMAND SPREKEN?Een Haas Factory Outlet (HFO) kan uw vragen beantwoorden en de beste mogelijkheden met u bespreken.
CONTACT YOUR DISTRIBUTOR > -
Verticale bewerkingscentra
-
Opties
-
 Spillen
Spillen
Spillen -
 Gereedschapswisselaars
Gereedschapswisselaars
Gereedschapswisselaars -
 4e- | 5e-as
4e- | 5e-as
4e- | 5e-as -
 Revolvers en aangedreven gereedschappen
Revolvers en aangedreven gereedschappen
Revolvers en aangedreven gereedschappen -
 Tasten
Tasten
Tasten -
 Spaanders en koelmiddelbeheer
Spaanders en koelmiddelbeheer
Spaanders en koelmiddelbeheer -
 De Haas besturing
De Haas besturing
De Haas besturing -
 Productopties
Productopties
Productopties -
 Gereedschap en opspanning
Gereedschap en opspanning
Gereedschap en opspanning -
 Werkstukopspanning
Werkstukopspanning
Werkstukopspanning -
 5-assige oplossingen
5-assige oplossingen
5-assige oplossingen -
 Automatisering
Automatisering
Automatisering
WINKELEN VOOR GEREEDSCHAPWILT U MET IEMAND SPREKEN?Een Haas Factory Outlet (HFO) kan uw vragen beantwoorden en de beste mogelijkheden met u bespreken.
CONTACT YOUR DISTRIBUTOR > -
-
Why Haas
Ontdek het verschil dat Haas maakt
-
Service
- Video’s
-
Haas-gereedschap
- Haas-gereedschap
-
Winner's Circle
-
Winner's Circle
-
De Hot Deals van vandaag
-
Opruiming
-
Meting en inspectie
-
Cobots en accessoires
-
Ondersteuning voor de winkel
-
Freesgereedschapshouder
-
Freesgereedschap
-
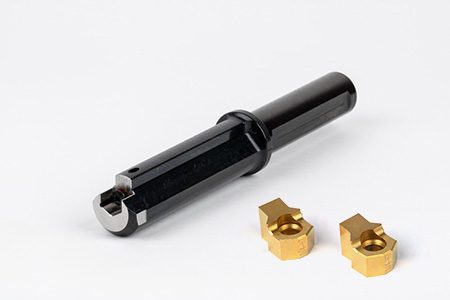
Kottersystemen
-
Freeswerkstukopspanning
-
Draaimachinegereedschapshouder
-
Draaimachinegereedschap
-
Klauwplaat draaibank
-
Verpakkingssets
-
ER-spantangen en -houders
-
Gaten maken
-
Schroefdraadsnijden
-
Brootsen
-
Opspankubussen
-
Handbediende klauwplaten voor frezen
-
Ontbramings- en schuurmiddelen
-
Gereedschapstaster en warmtekrimpers
-
Gereedschapsopslag
-
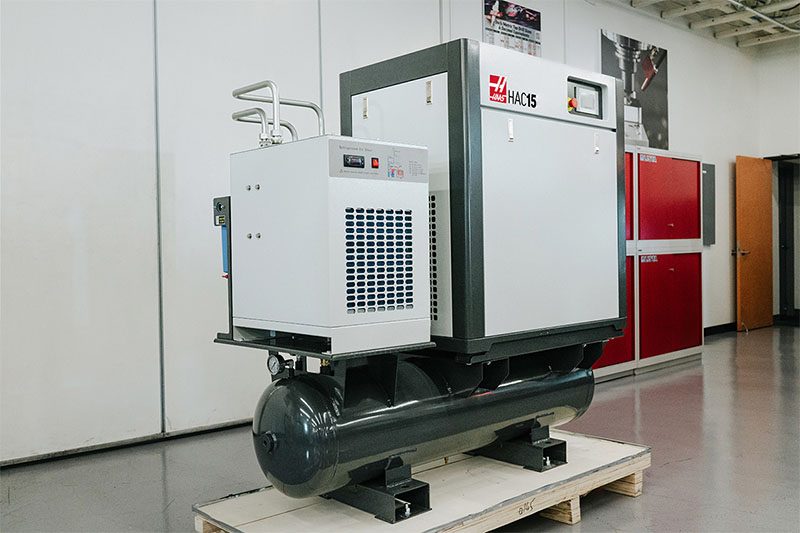
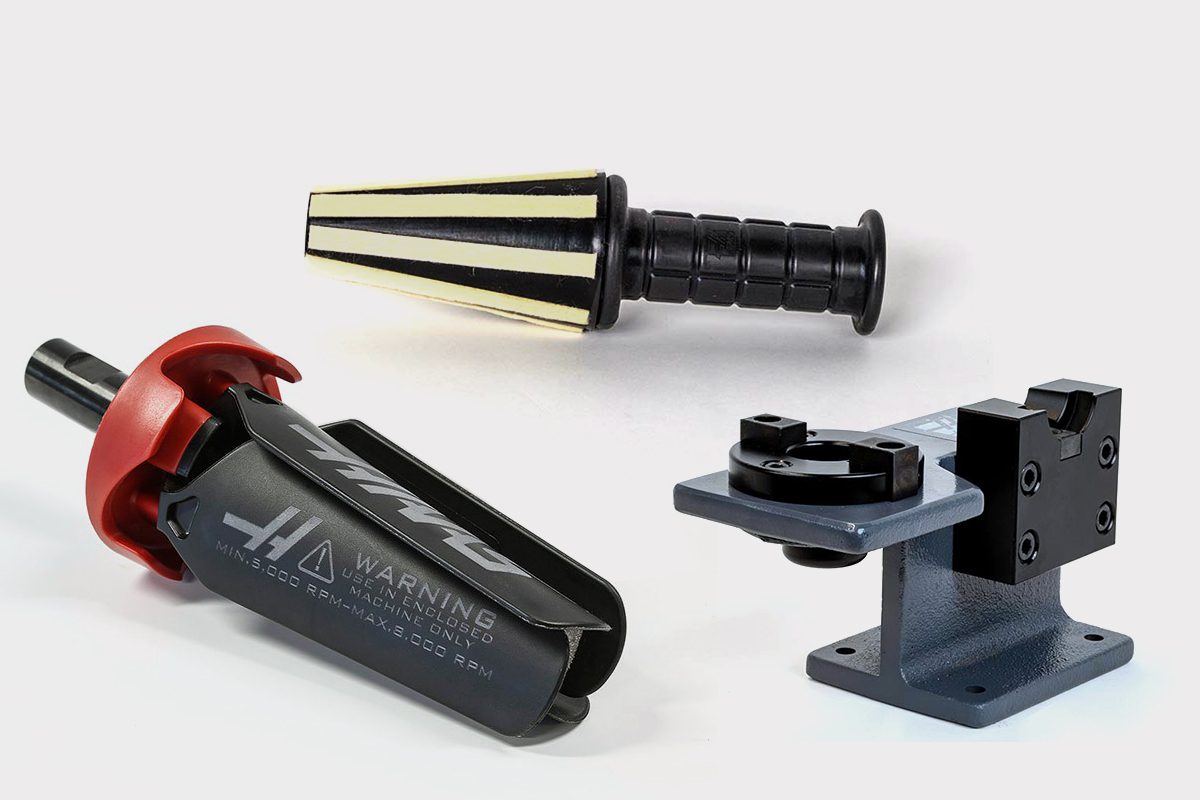
Machineonderhoud
-
Gereedschapsaccessoires
-
Bekleding & Accessoires
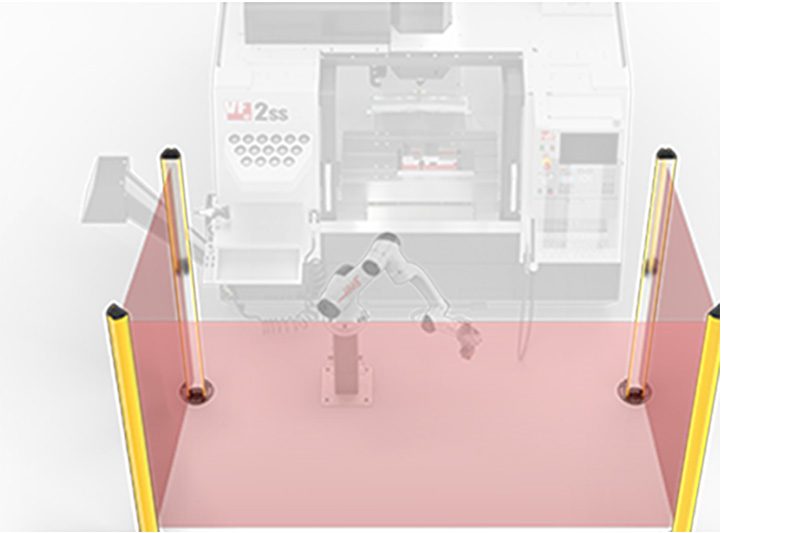 Automatiseringsaccessoires
 Ondersteuning voor de winkel
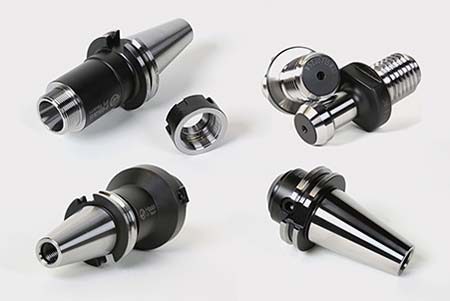 Freesgereedschapshouder
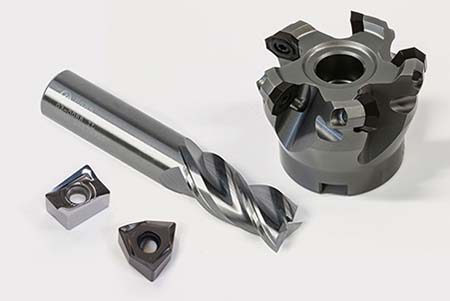 Frees freesgereedschap
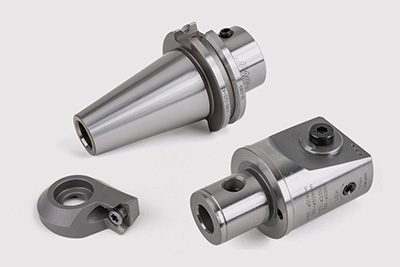 Boringsystemen
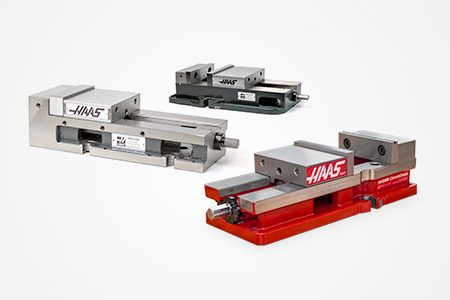 Freeswerkstukopspanning
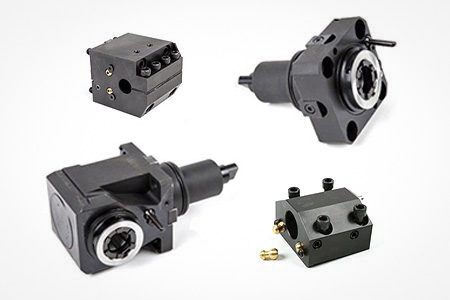 Draaimachinegereedschapshouder
 Draaimachine freesgereedschap
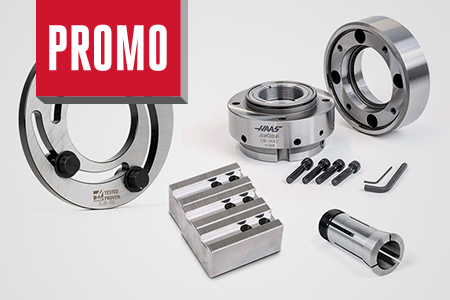 Draaimachine werkstukopspanning
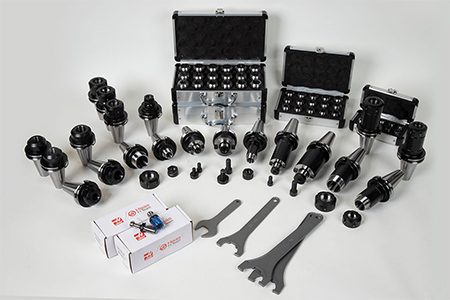 Verpakkingssets
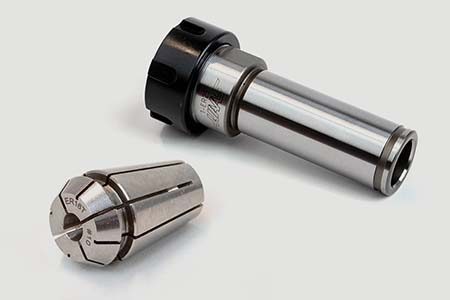 ER spantangen en boorkoppen
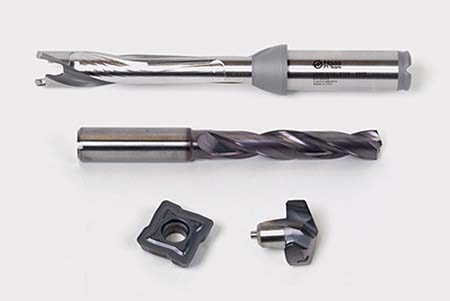 Gaten maken
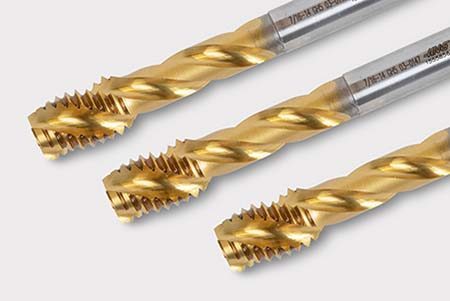 Schroefdraadsnijden
 Brootsen
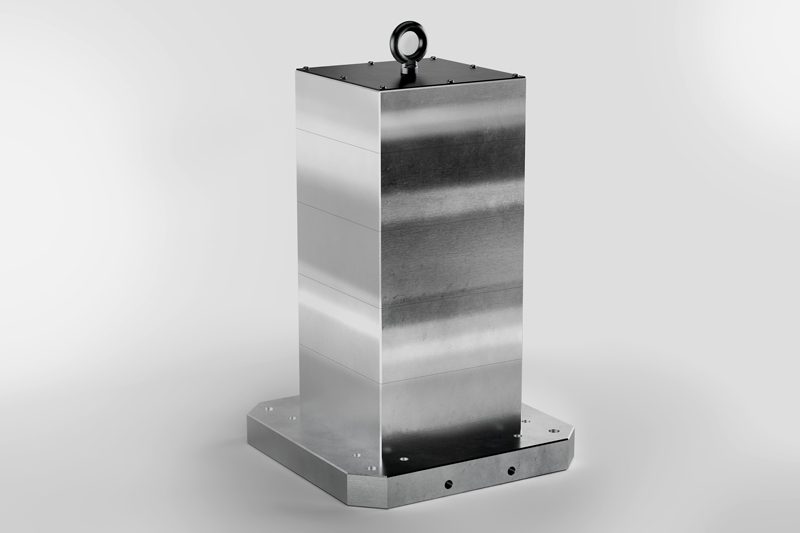 Opspankubussen en sets
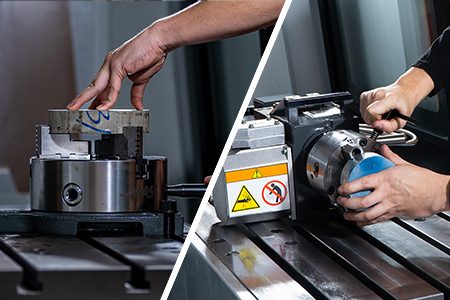 Handbediende klauwplaten voor frezen
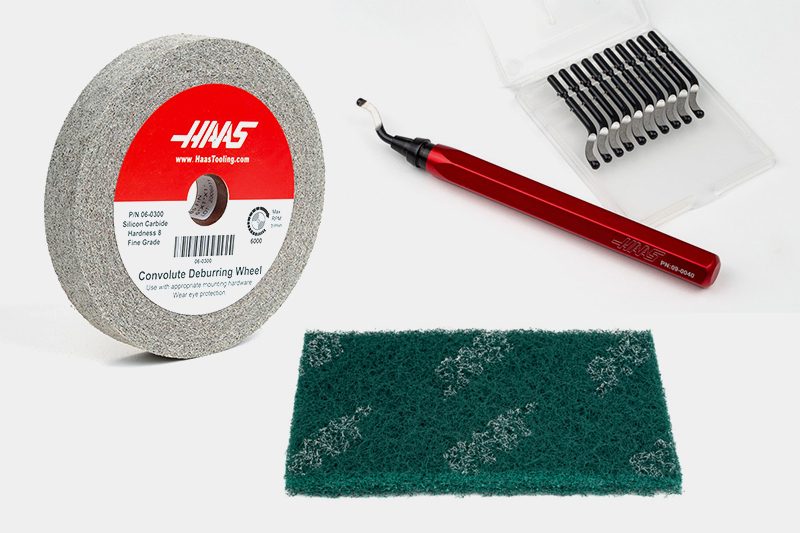 Ontbramen en schuurmiddelen
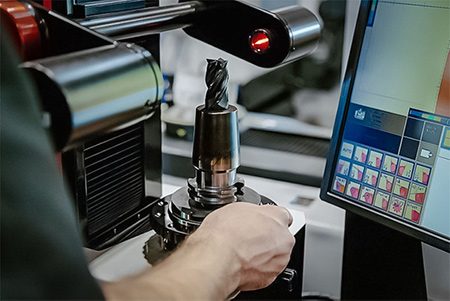 Gereedschapstaster en warmtekrimpers
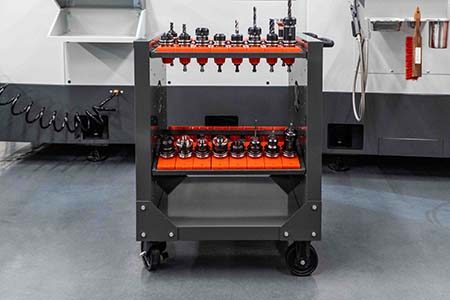 Opslag en behandeling
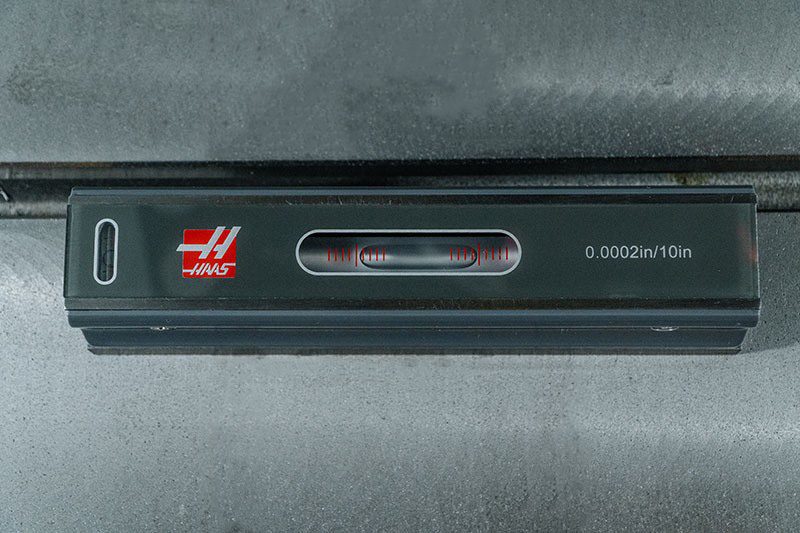 Machineonderhoud
 Gereedschapsaccessoires
 Bekleding & Accessoires
 Meting en inspectie
 Winner's Circle
Winner's Circle
Winner's Circle
 Speling
 De Hot Deals van vandaag