-
máquinas
-
Fresadoras verticais
Fresadoras verticais
-
Soluções multi-eixo
Soluções multi-eixo
-
Tornos
Tornos
-
Fresadoras horizontais
Fresadoras horizontais
-
Rotativos e Indexadores
Rotativos e Indexadores
-
Sistemas de automação
Sistemas de automação
-
Máquinas Desktop
Máquinas Desktop
-
Equipamento de oficina
Equipamento de oficina
-
Máquinas de fabrico
Máquinas de fabrico
FERRAMENTAS DE COMPRASQUER FALAR COM ALGUÉM?A Haas Factory Outlet (HFO) pode responder às suas perguntas e orientá-lo nas suas melhores opções.
CONTACT YOUR DISTRIBUTOR > -
Fresadoras verticais
-
Opções
-
/2026-04-VOP-SquareComponent.jpg/_jcr_content/renditions/cq5dam.thumbnail.319.319.png) Pacotes de Opção de Valor
Pacotes de Opção de Valor
Pacotes de Opção de Valor
Pacotes de Opção de Valor -
 Spindles
Spindles
Spindles -
 Trocadores da ferramenta
Trocadores da ferramenta
Trocadores da ferramenta -
 4.º | 5.º eixo
4.º | 5.º eixo
4.º | 5.º eixo -
 Torretas e ferramenta motorizada
Torretas e ferramenta motorizada
Torretas e ferramenta motorizada -
 Sondagem
Sondagem
Sondagem -
 Gestão da limalha e do líquido de refrigeração
Gestão da limalha e do líquido de refrigeração
Gestão da limalha e do líquido de refrigeração -
 O controlador Haas
O controlador Haas
O controlador Haas -
 Opções de Produtos
Opções de Produtos
Opções de Produtos -
 Ferramentas e Fixação
Ferramentas e Fixação
Ferramentas e Fixação -
 Dispositivo de aperto
Dispositivo de aperto
Dispositivo de aperto -
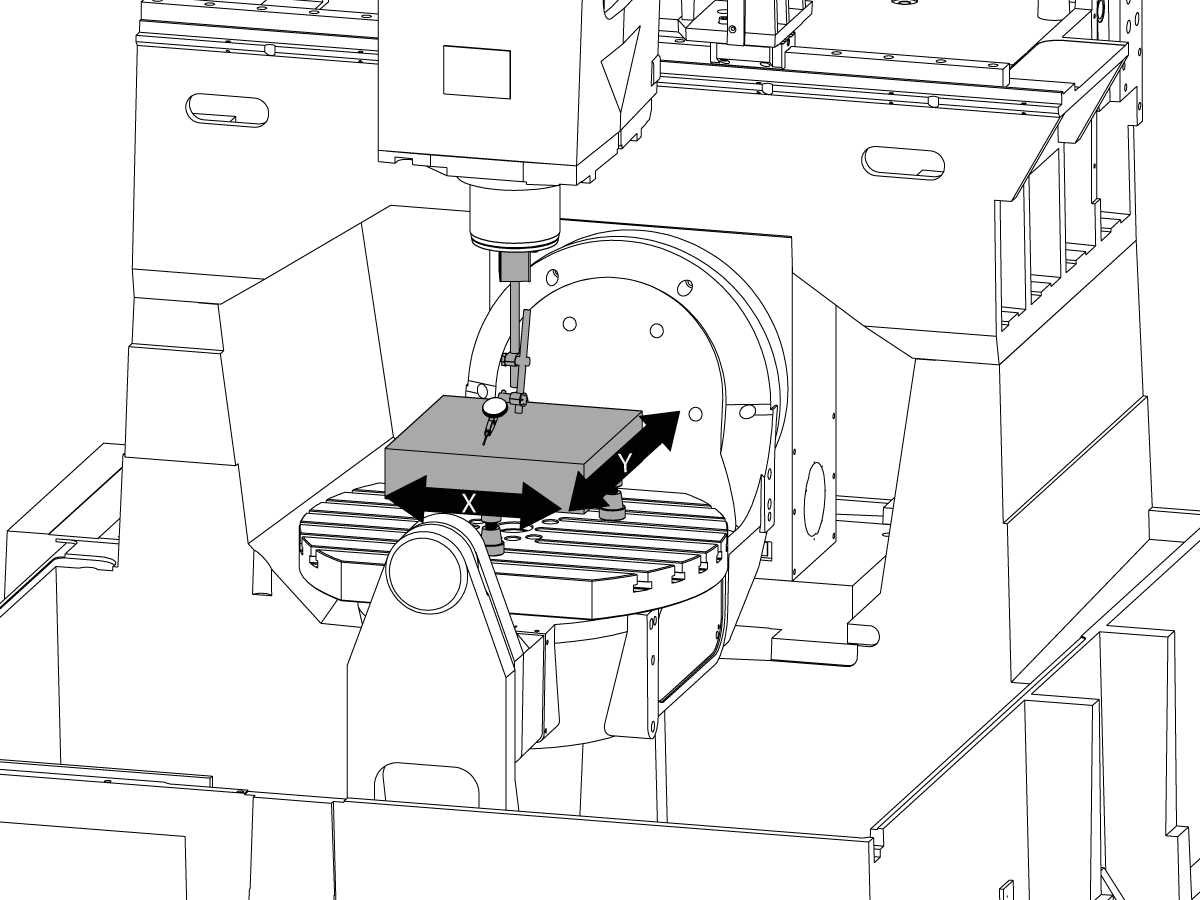
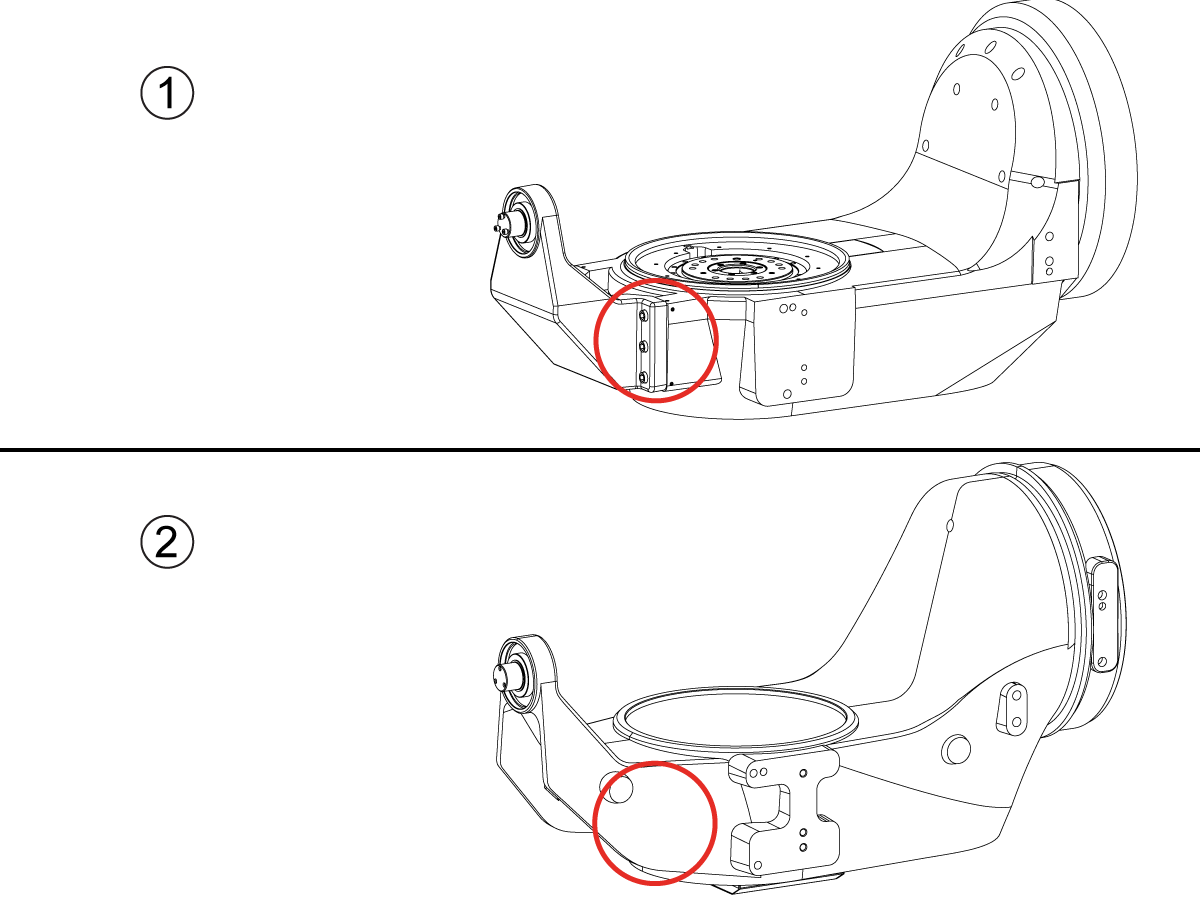
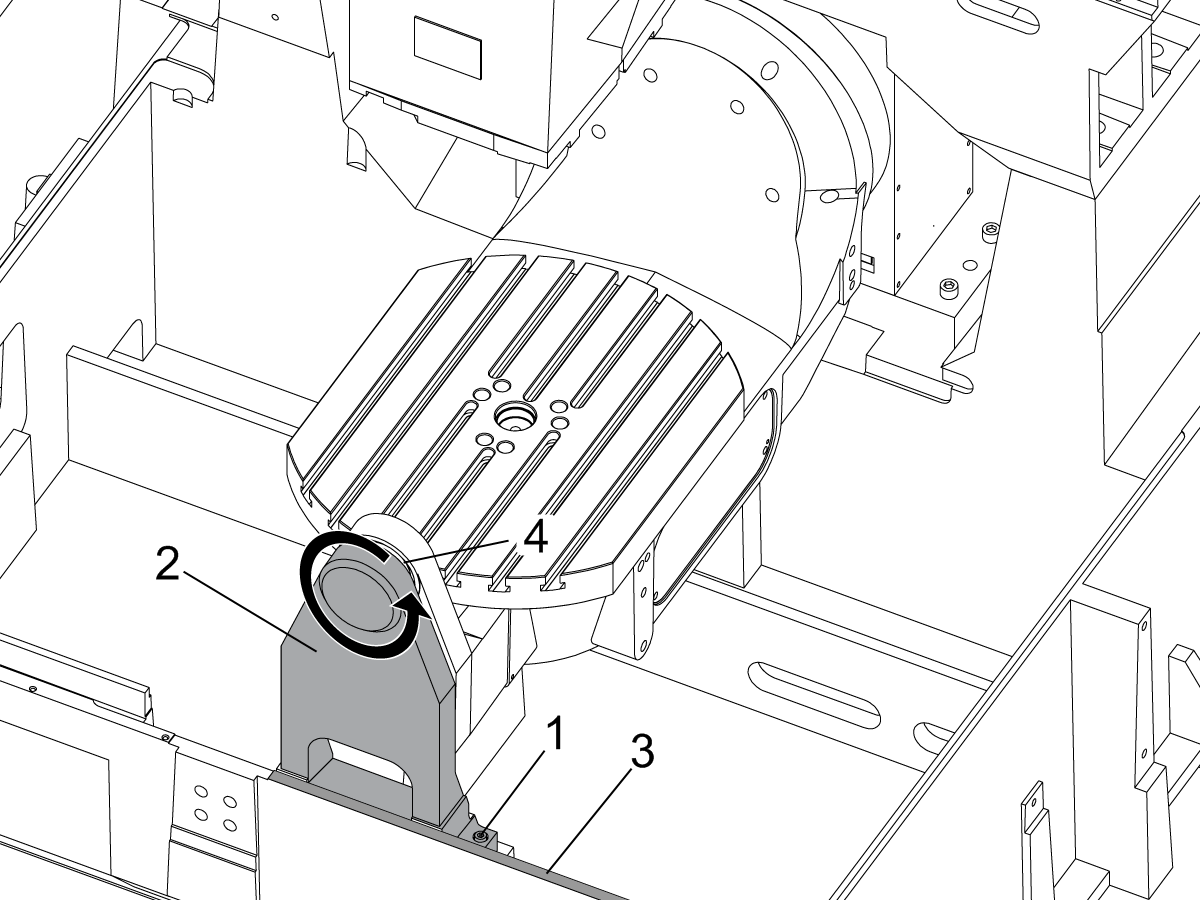
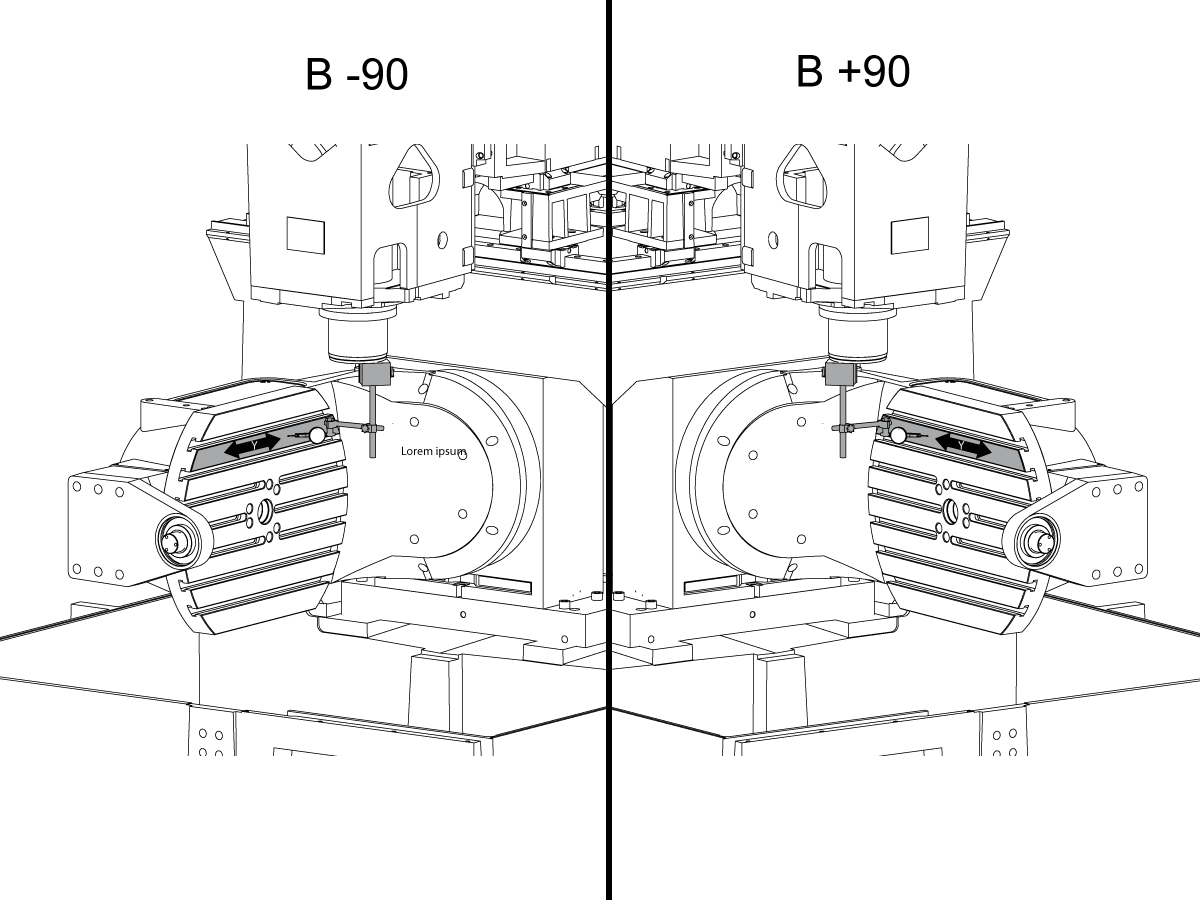
 Soluções de 5 eixos
Soluções de 5 eixos
Soluções de 5 eixos -
 AUTOMATIZAÇÃO
AUTOMATIZAÇÃO
AUTOMATIZAÇÃO
FERRAMENTAS DE COMPRASQUER FALAR COM ALGUÉM?A Haas Factory Outlet (HFO) pode responder às suas perguntas e orientá-lo nas suas melhores opções.
CONTACT YOUR DISTRIBUTOR > -
-
Why Haas
Descubra a Diferença da Haas
-
Assistência
- Vídeos


.png)