-
maskiner
-
Vertikale freser
Vertikale freser
-
Flereakseløsninger
Flereakseløsninger
-
Dreiebenker
Dreiebenker
-
Horisontale freser
Horisontale freser
-
Roterende enheter og indekseringsenheter
Roterende enheter og indekseringsenheter
-
Automasjonssystemer
Automasjonssystemer
-
Stasjonære maskiner
Stasjonære maskiner
-
Butikkutstyr
Butikkutstyr
-
Fabrikeringsmaskiner
Fabrikeringsmaskiner
VIL DU SNAKKE MED NOEN?Et Haas fabrikkutsalg (HFO) kan svare på spørsmålene dine, og ta deg gjennom de beste alternativene dine.
CONTACT YOUR DISTRIBUTOR > -
Vertikale freser
-
Alternativer
-
 Spindler
Spindler
Spindler -
 Verktøyvekslere
Verktøyvekslere
Verktøyvekslere -
 4.- | 5. akse
4.- | 5. akse
4.- | 5. akse -
 Revolverhoder og direkteverktøy
Revolverhoder og direkteverktøy
Revolverhoder og direkteverktøy -
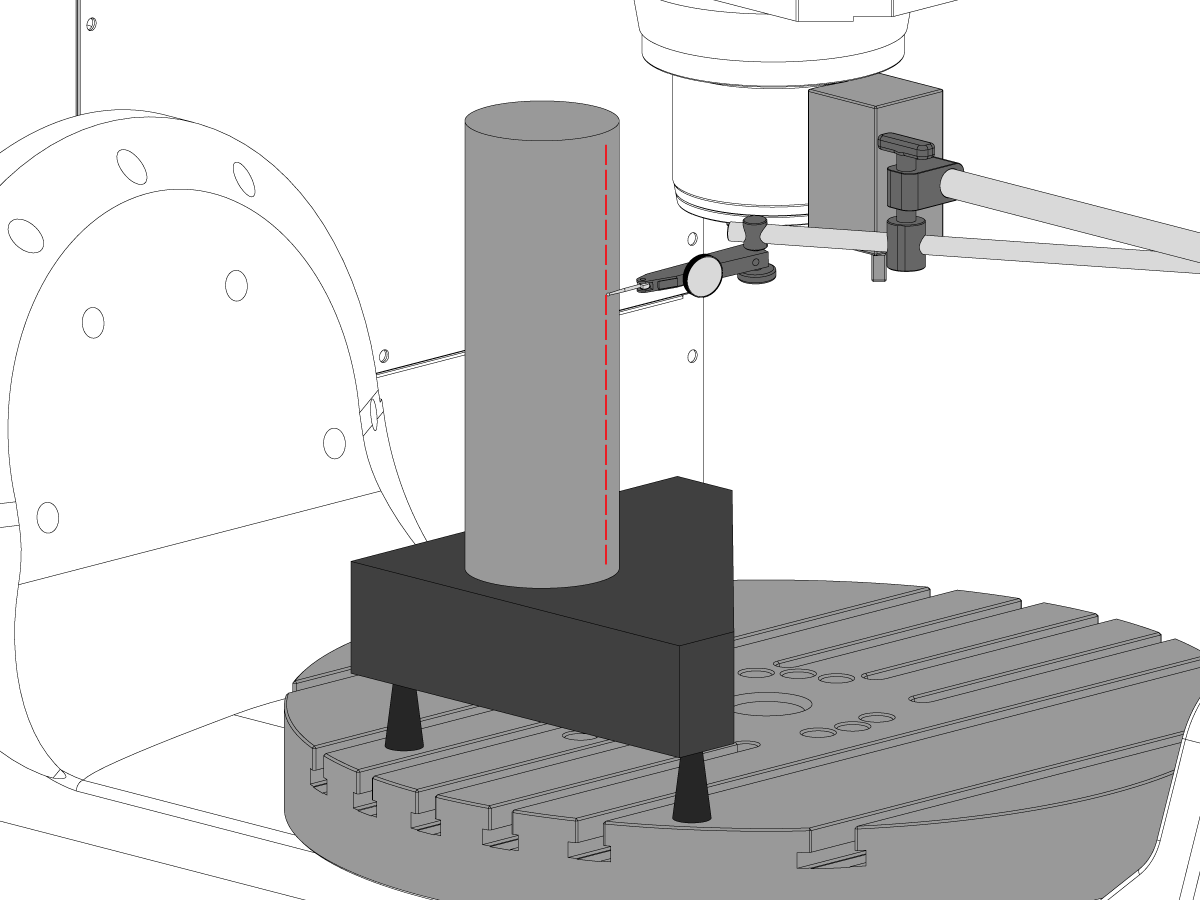
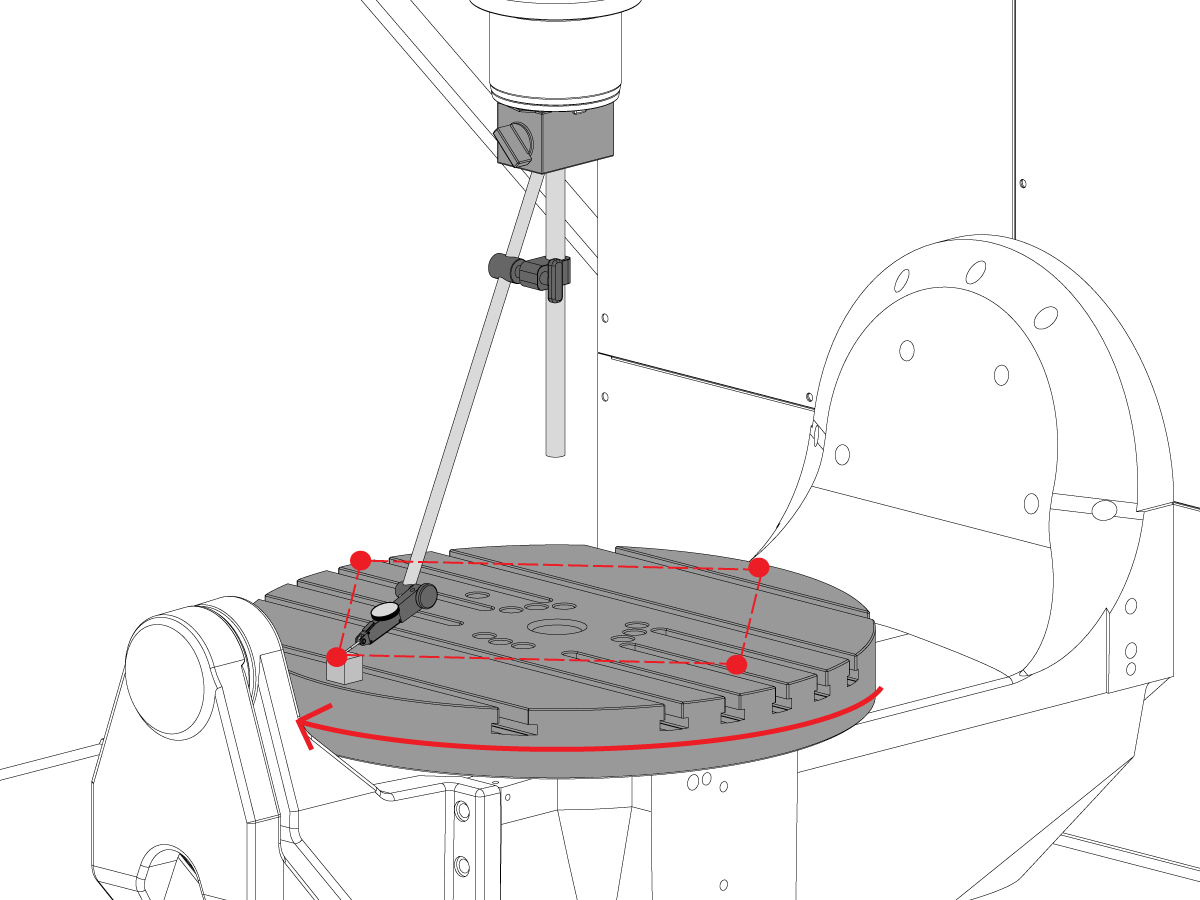
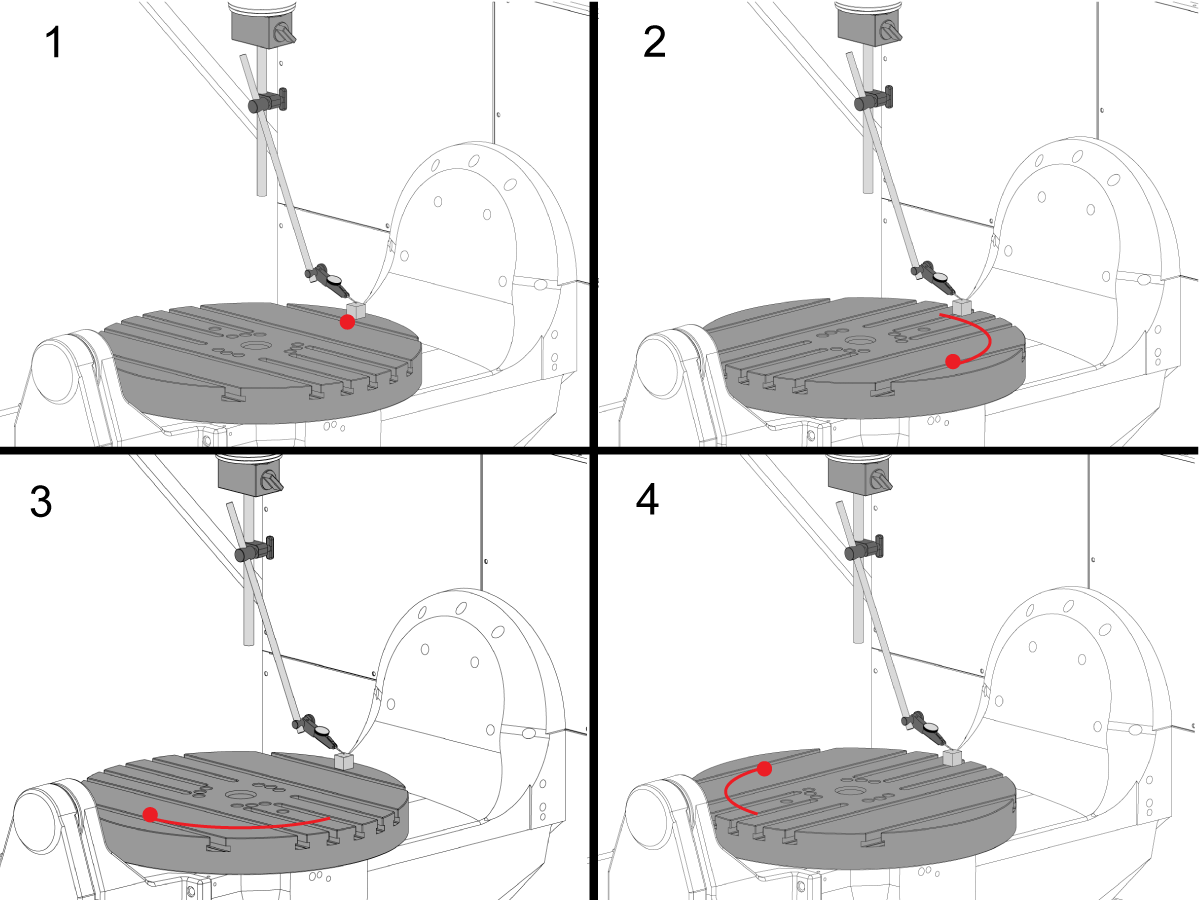
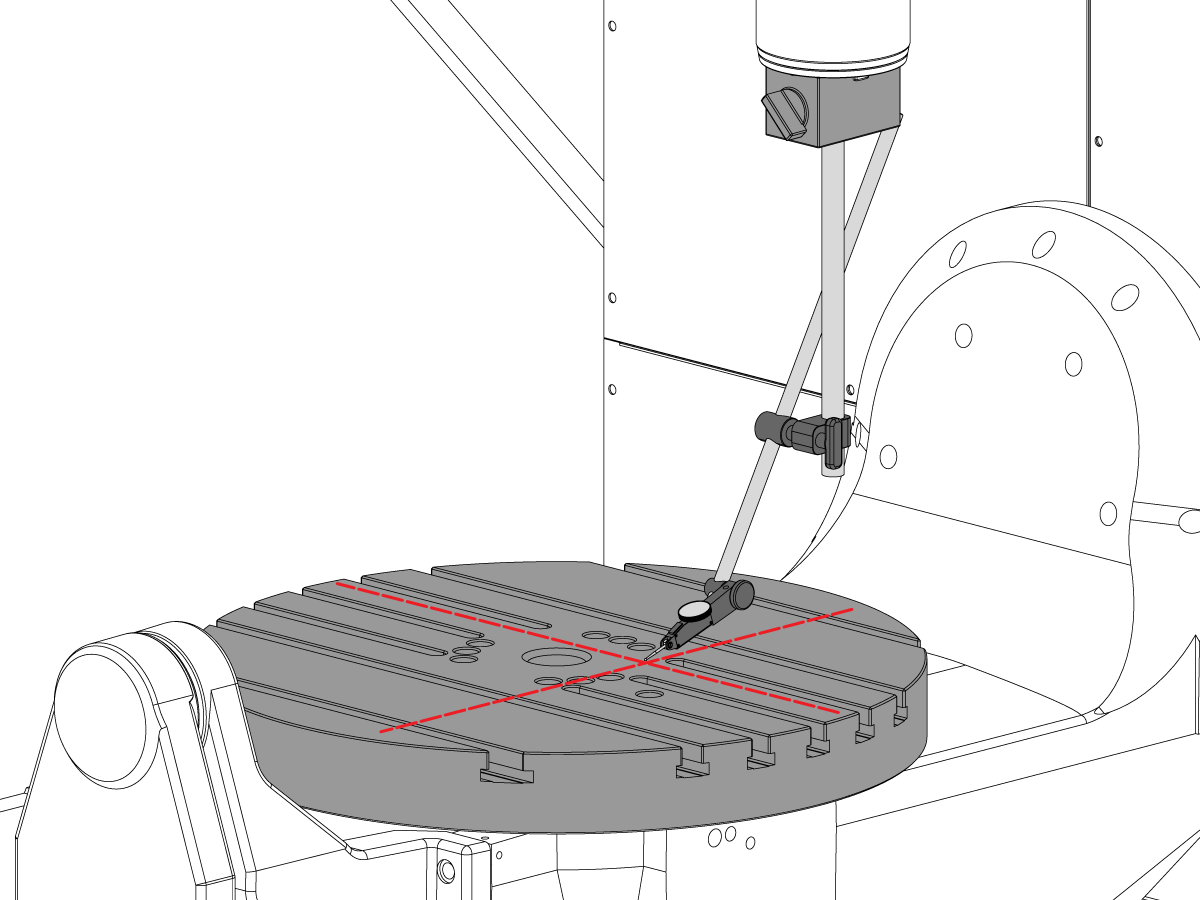
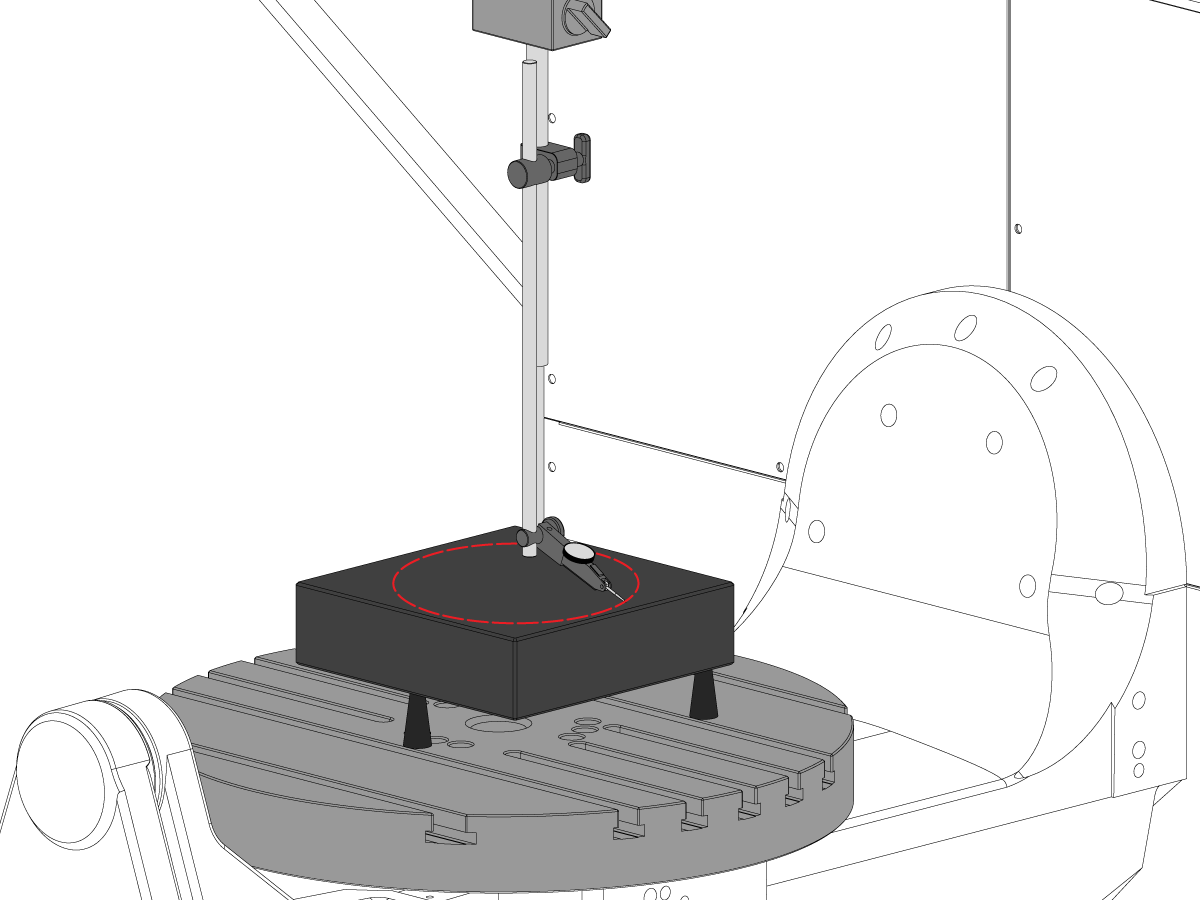
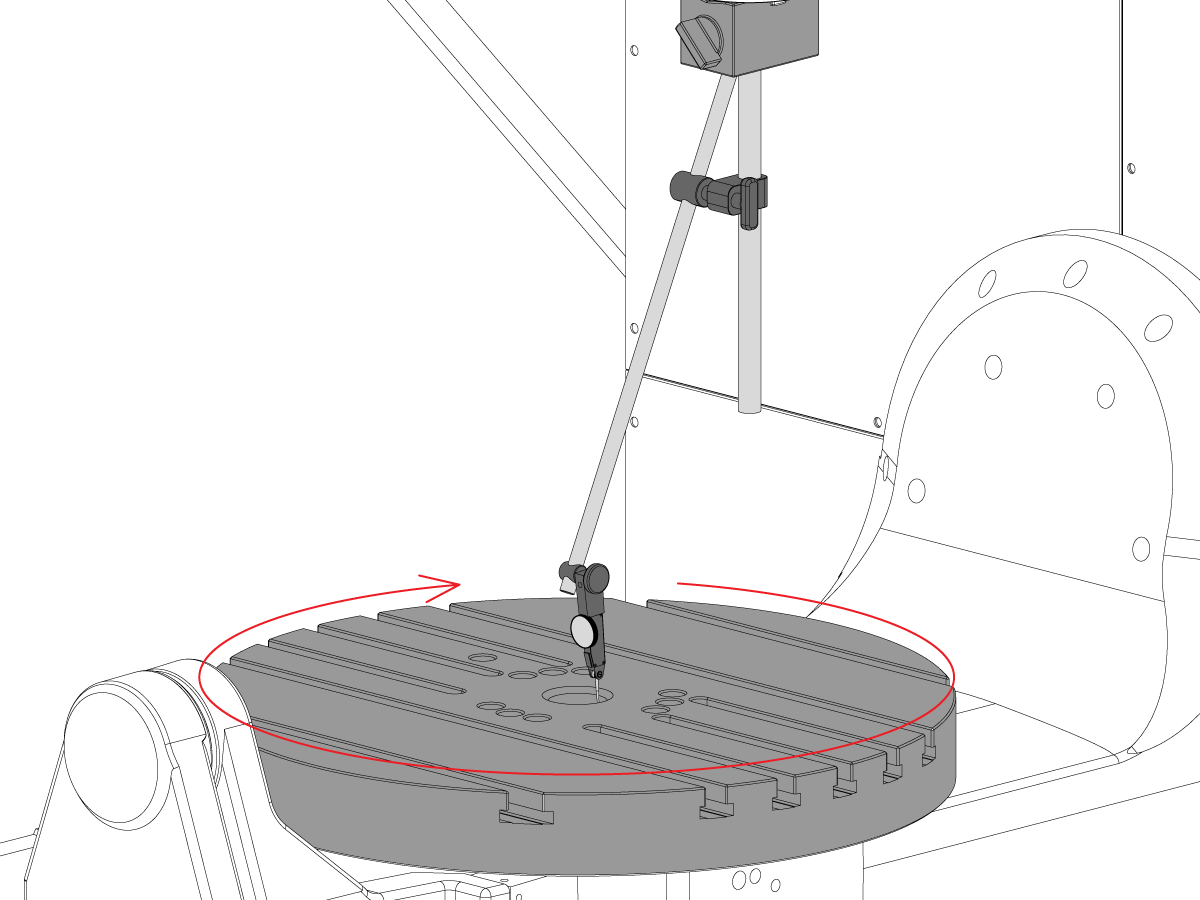
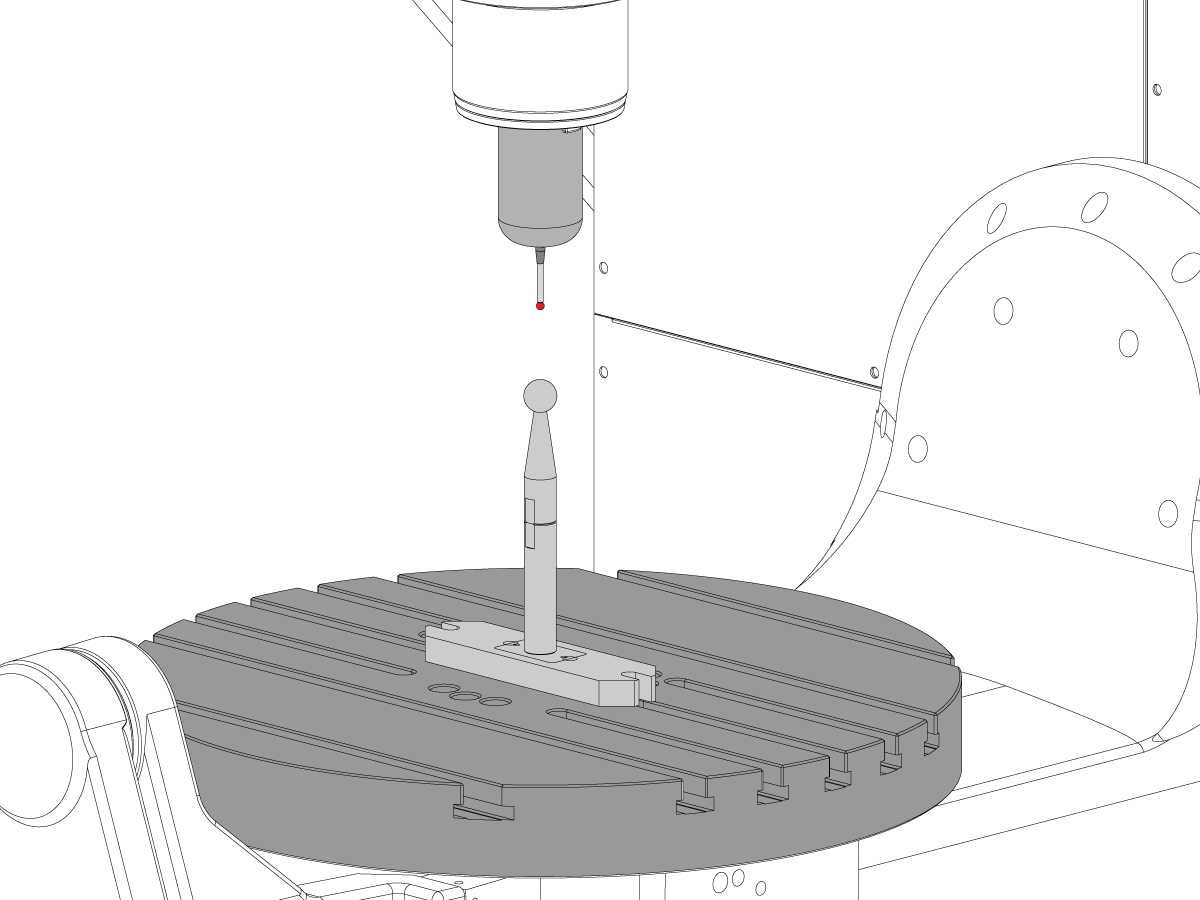
 Probing
Probing
Probing -
 Håndtering av spon og kjølevæske
Håndtering av spon og kjølevæske
Håndtering av spon og kjølevæske -
 Haas-kontrollen
Haas-kontrollen
Haas-kontrollen -
 Produktalternativer
Produktalternativer
Produktalternativer -
 Verktøy og oppspenning
Verktøy og oppspenning
Verktøy og oppspenning -
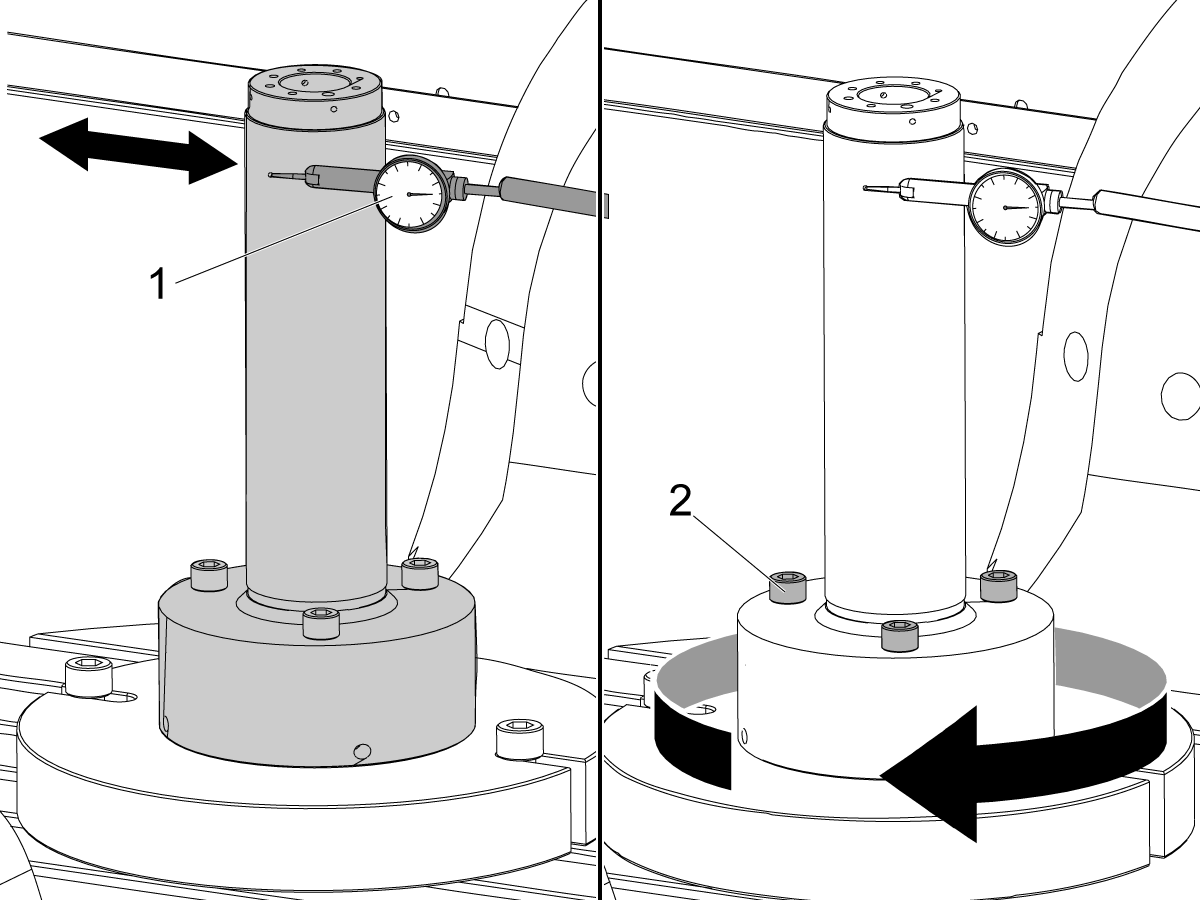
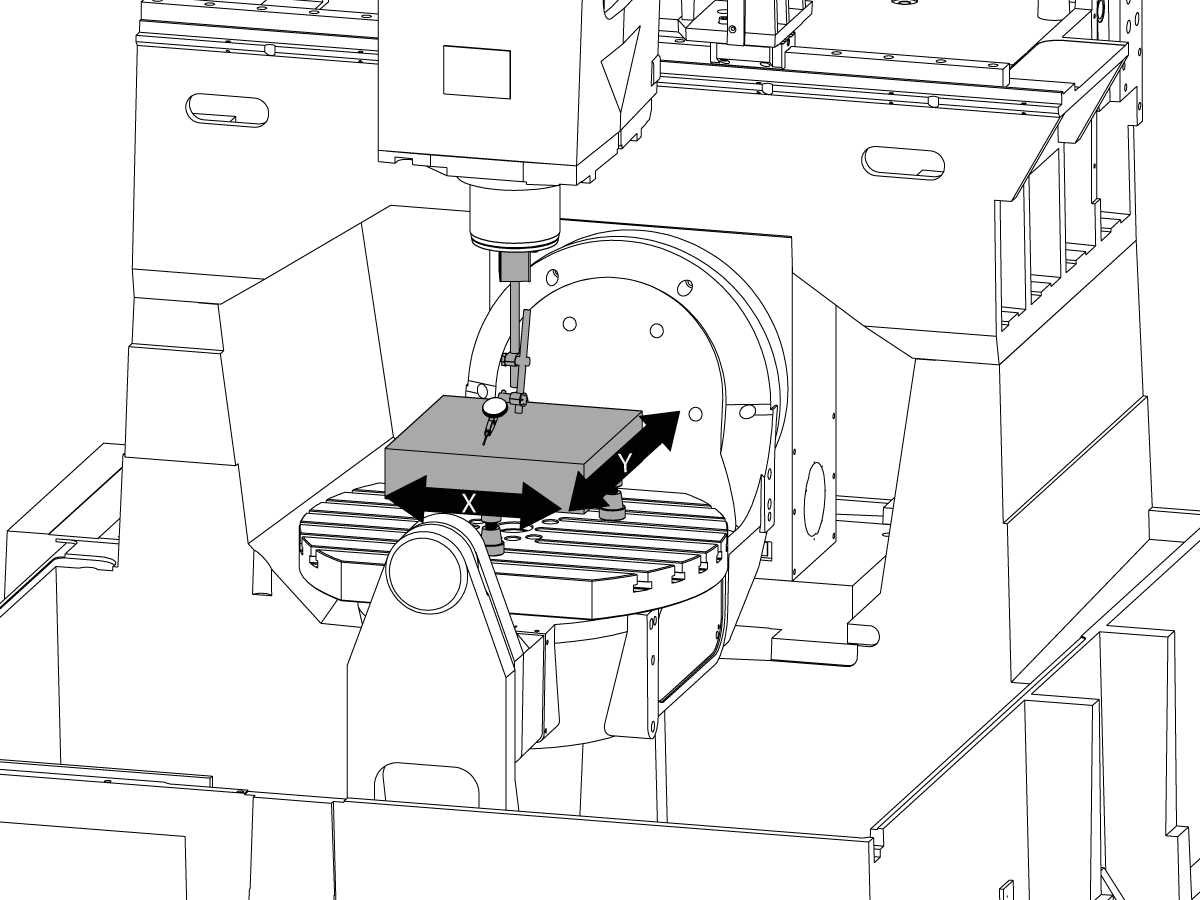
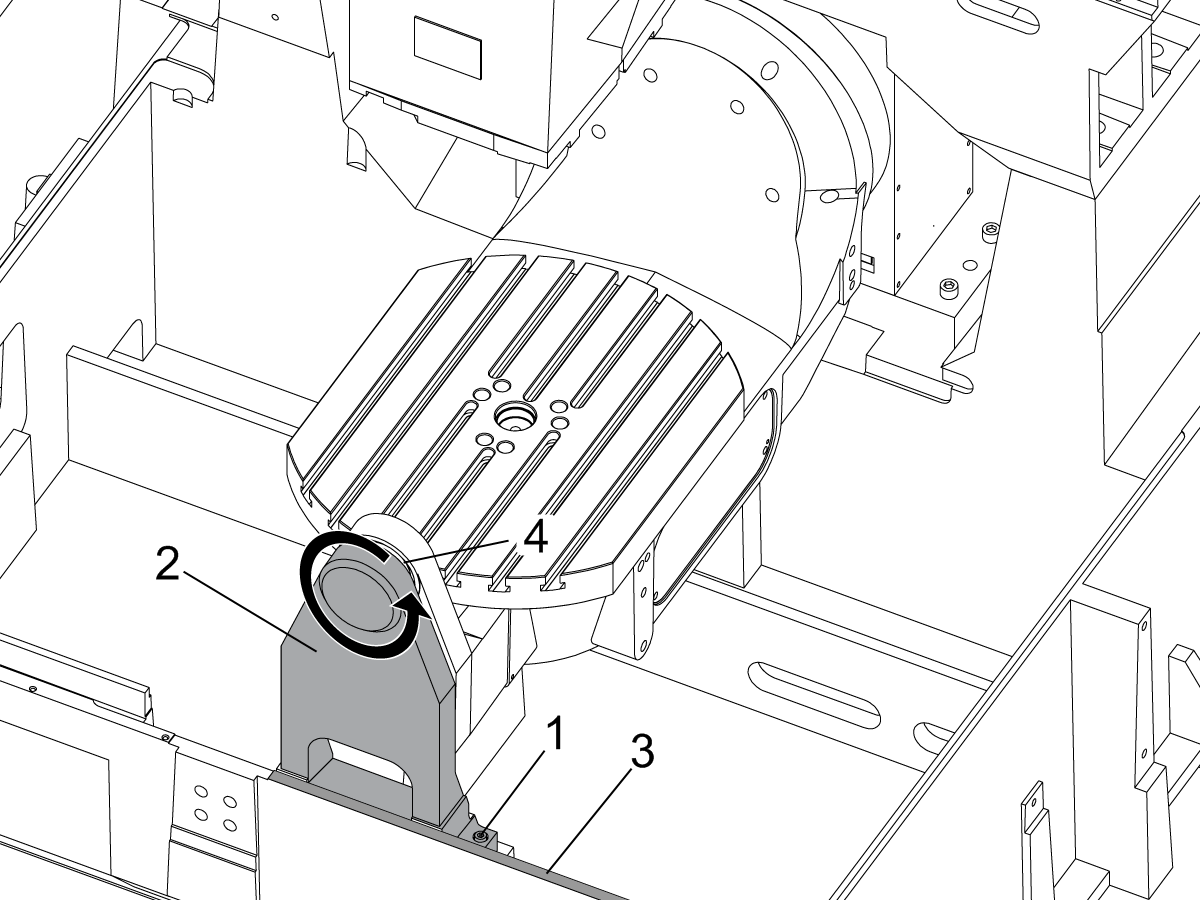
 Arbeidsoppspenning
Arbeidsoppspenning
Arbeidsoppspenning -
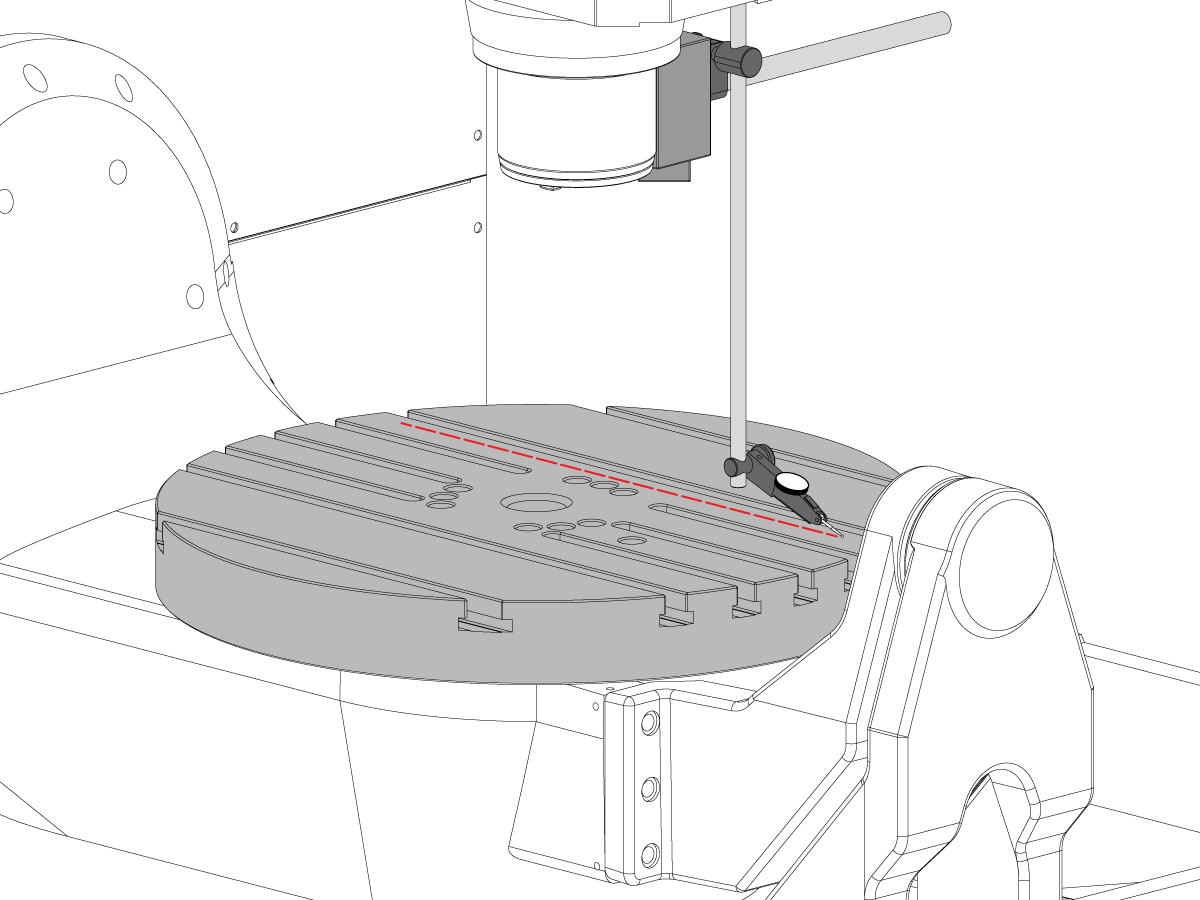
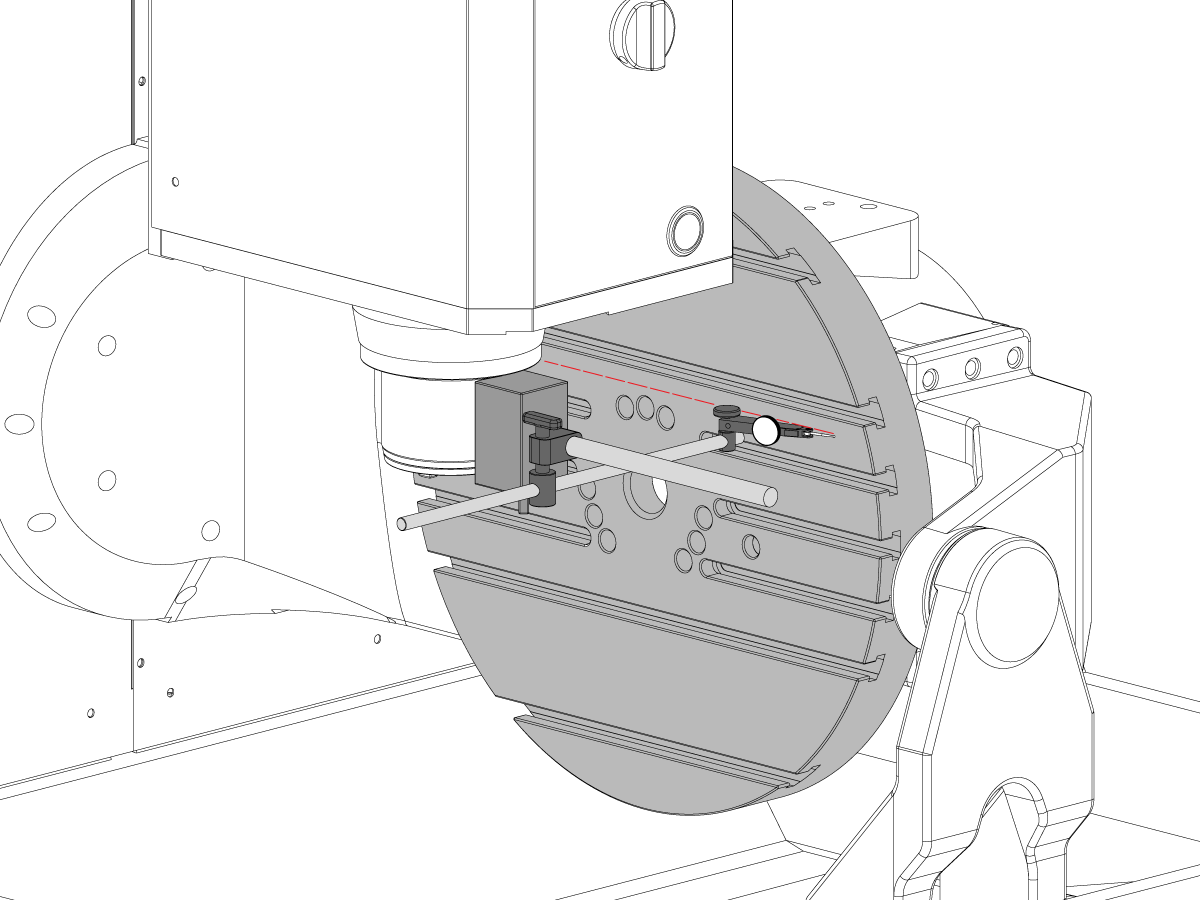
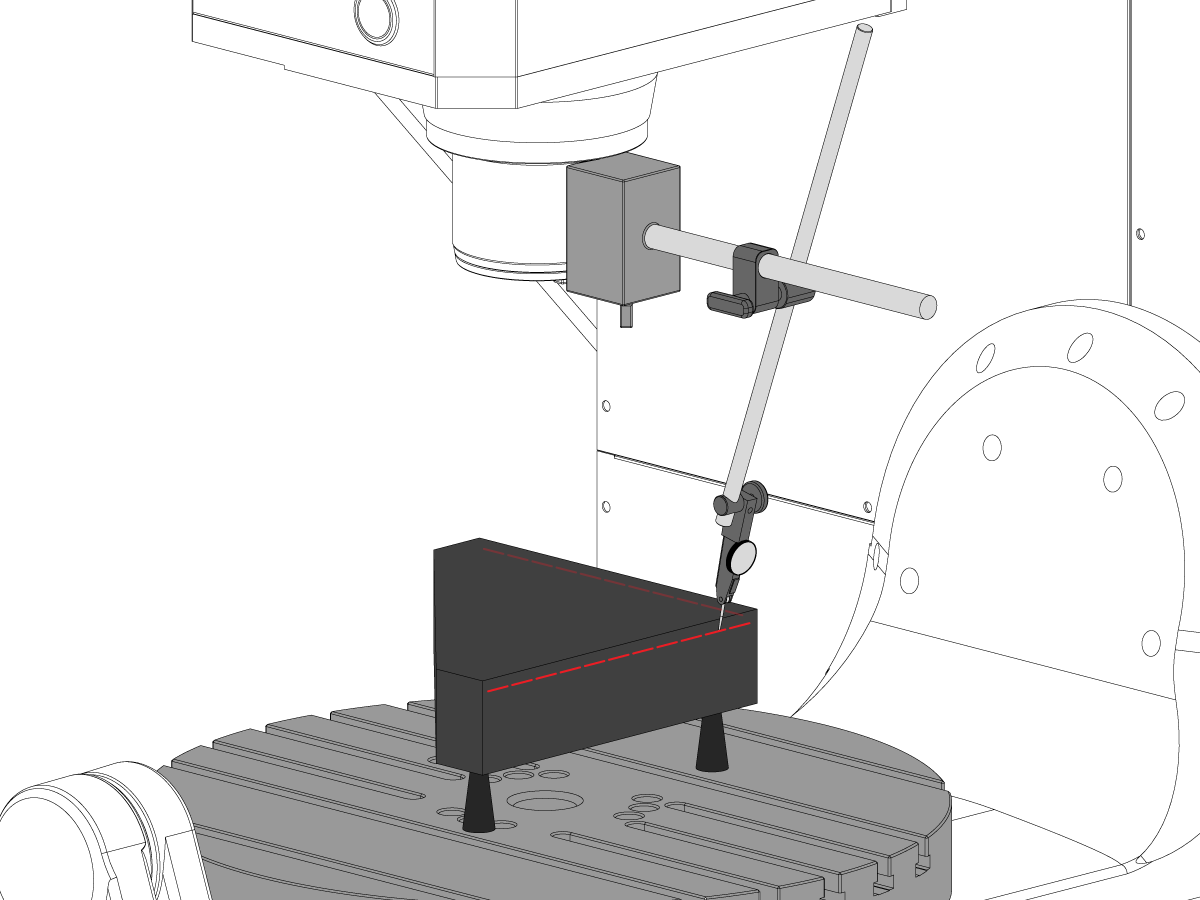
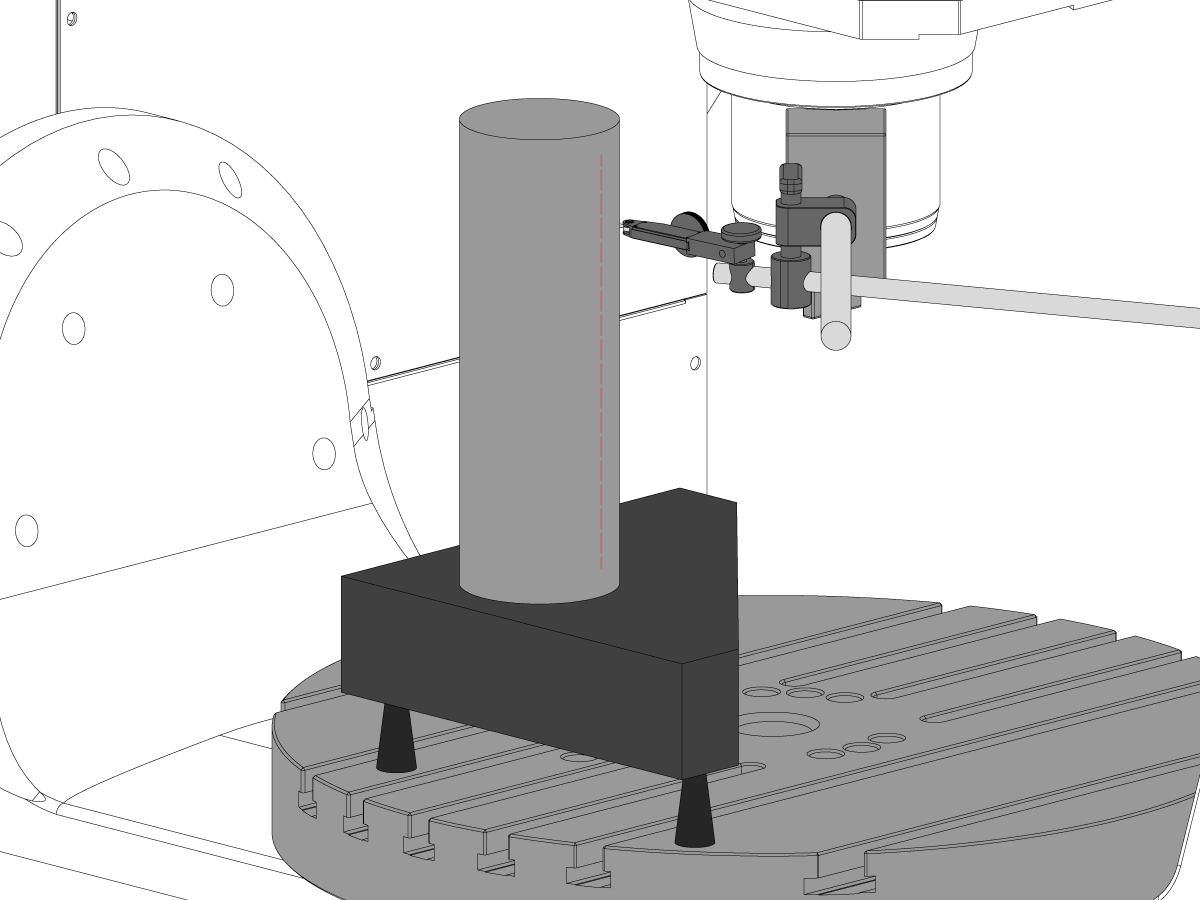
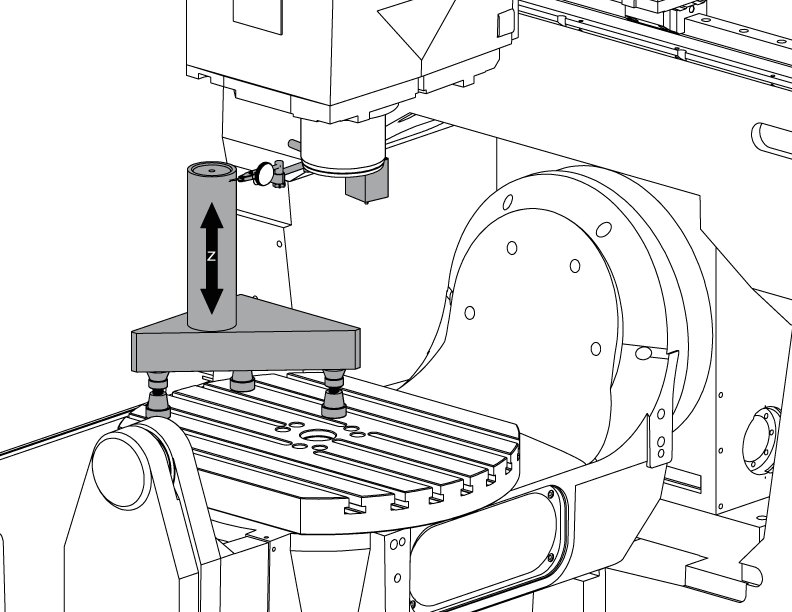
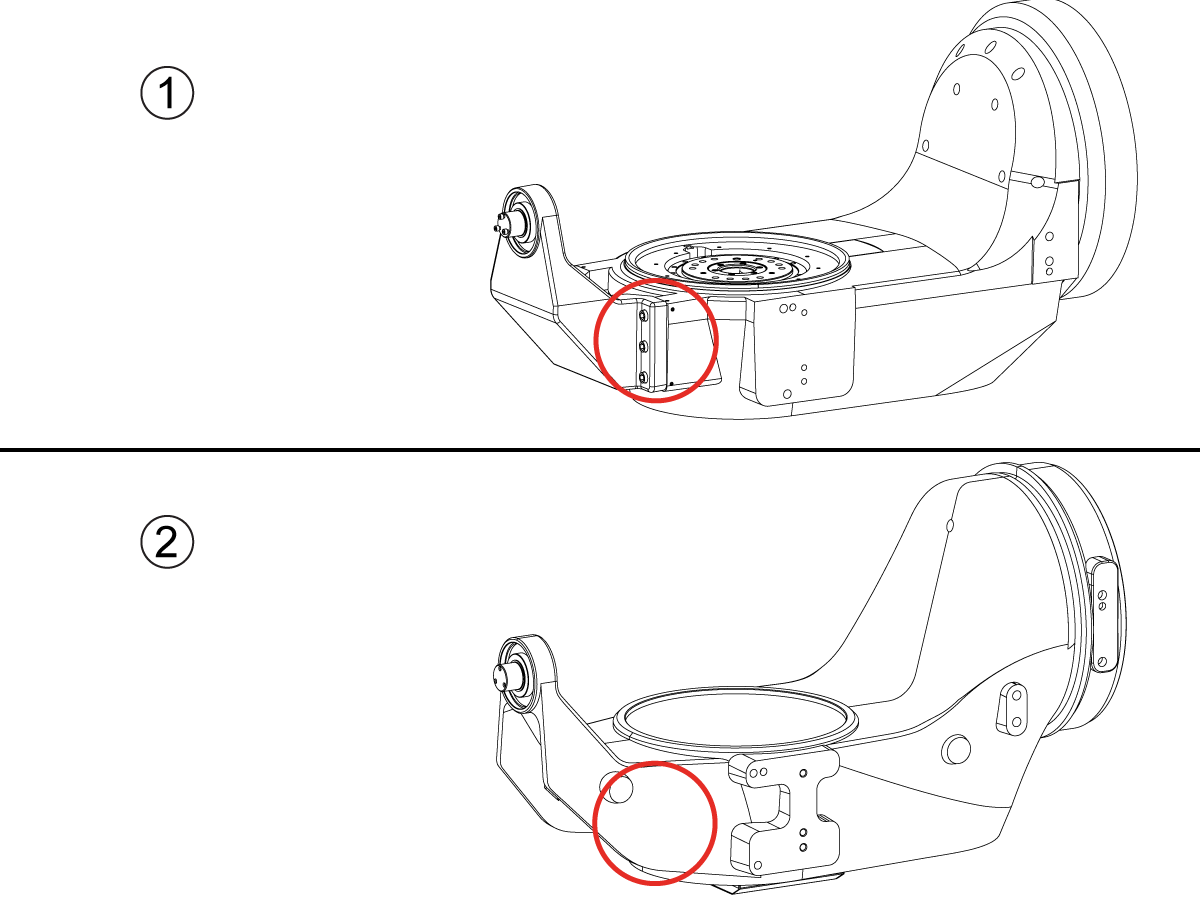
 Løsninger med 5-akse
Løsninger med 5-akse
Løsninger med 5-akse -
 Automatisering
Automatisering
Automatisering
VIL DU SNAKKE MED NOEN?Et Haas fabrikkutsalg (HFO) kan svare på spørsmålene dine, og ta deg gjennom de beste alternativene dine.
CONTACT YOUR DISTRIBUTOR > -
-
Why Haas
Oppdag forskjellen Haas gjør
-
Service
Velkommen til Haas Service
- Videoer


.png)